Showing posts with label DIY. Show all posts

Thursday, September 27, 2012

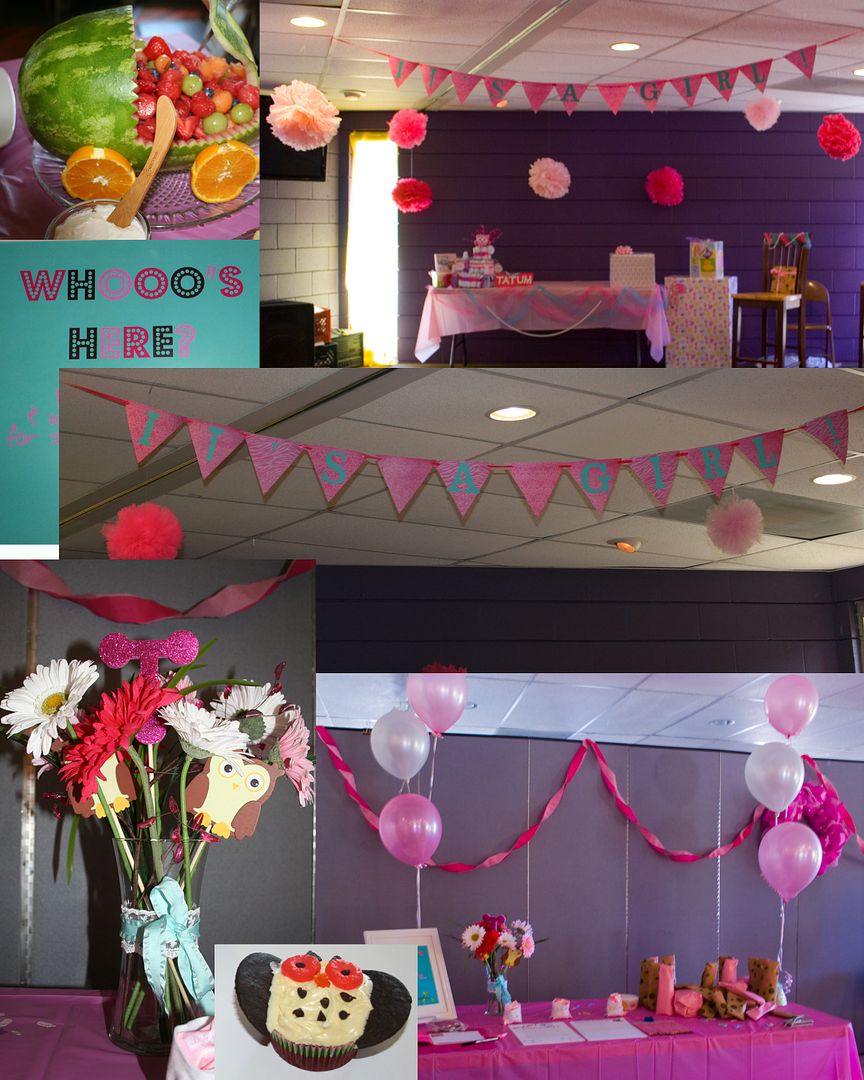
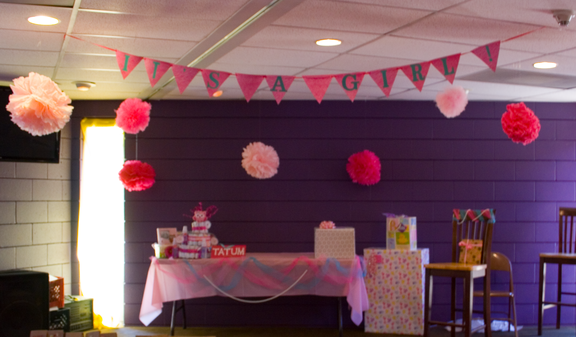
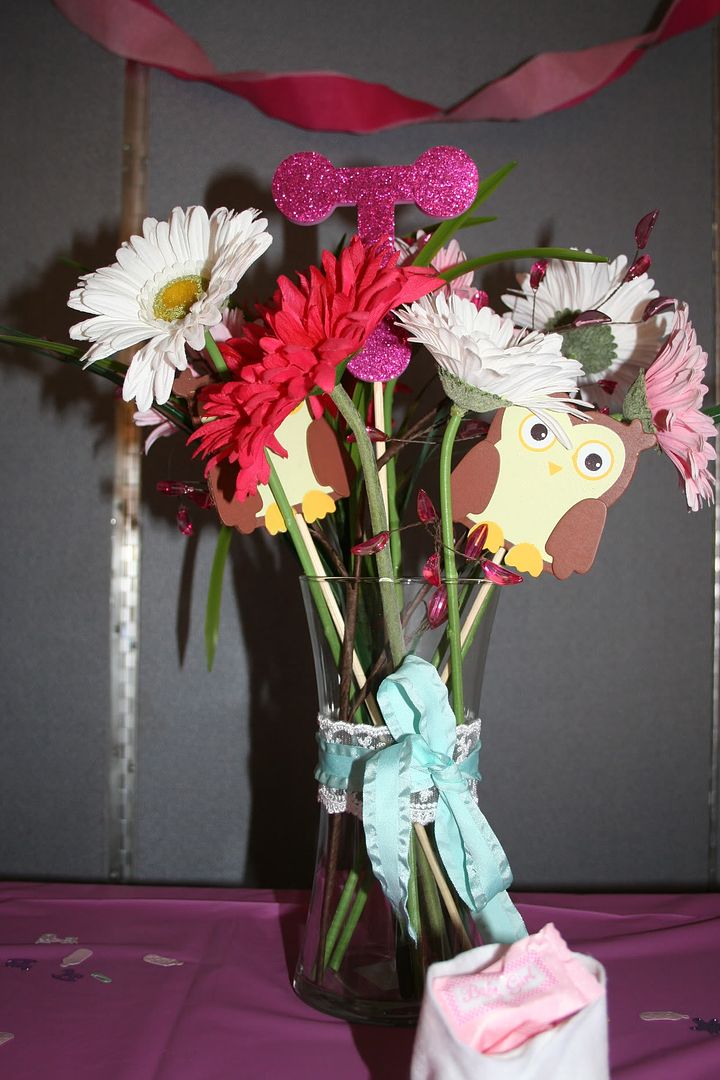
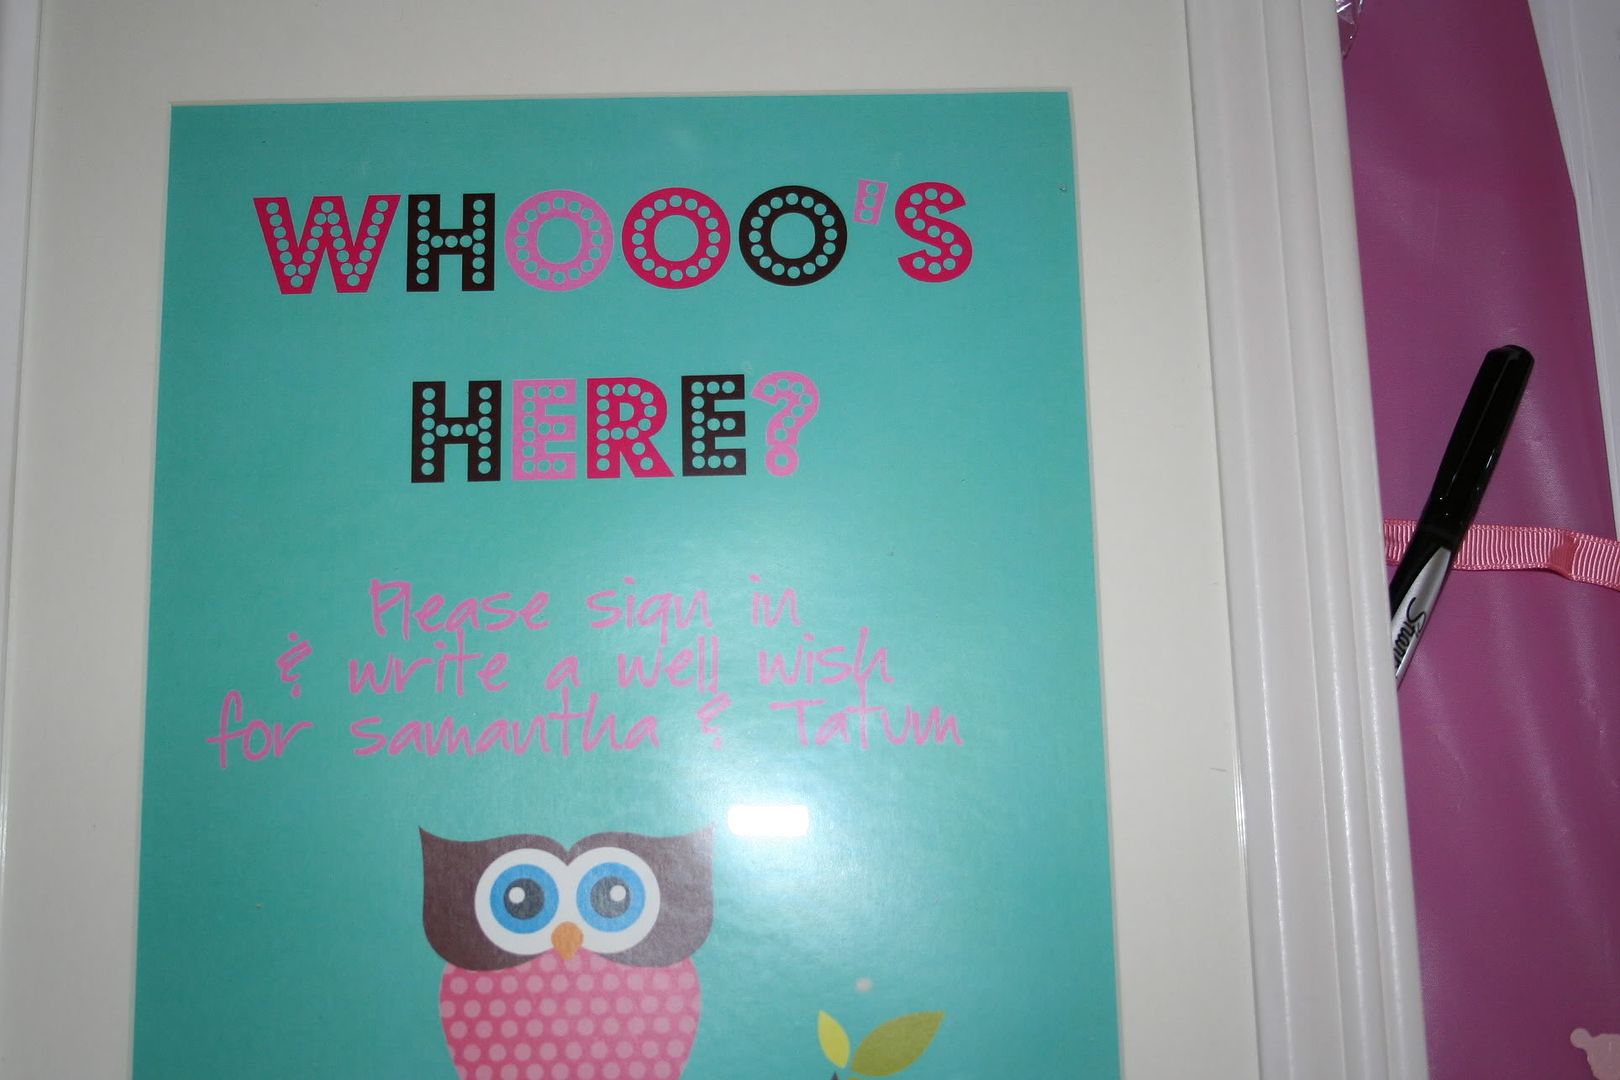
Owl Themed Baby Shower

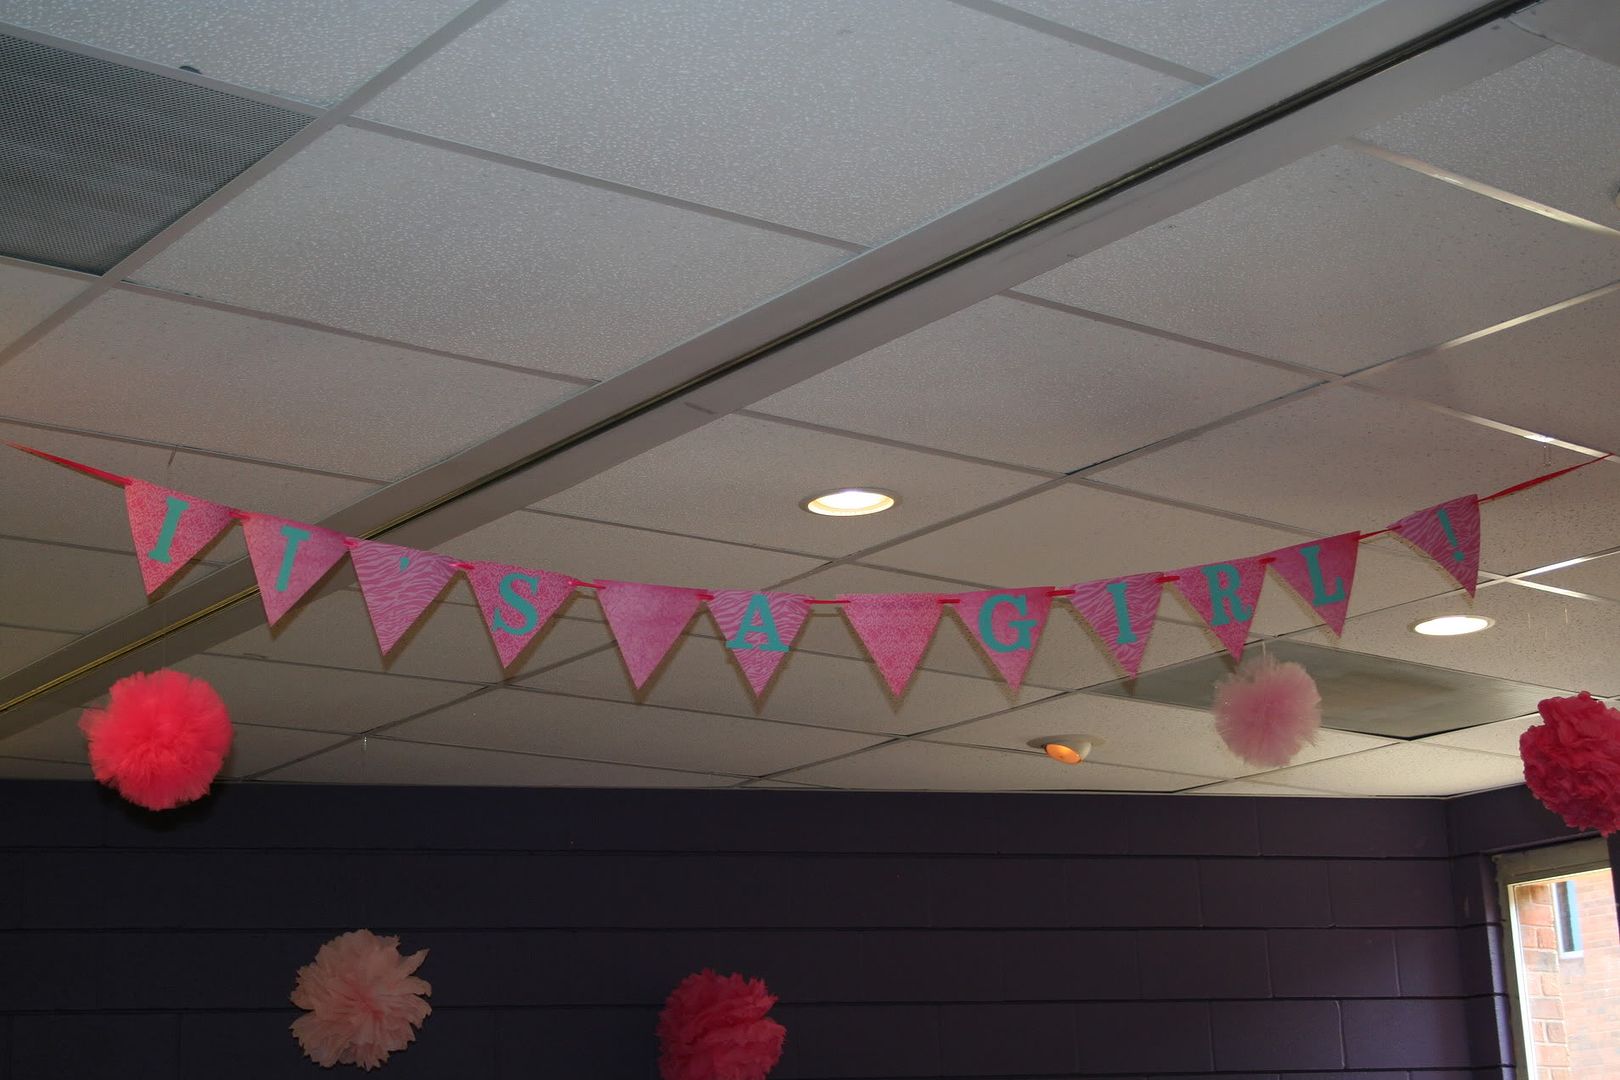
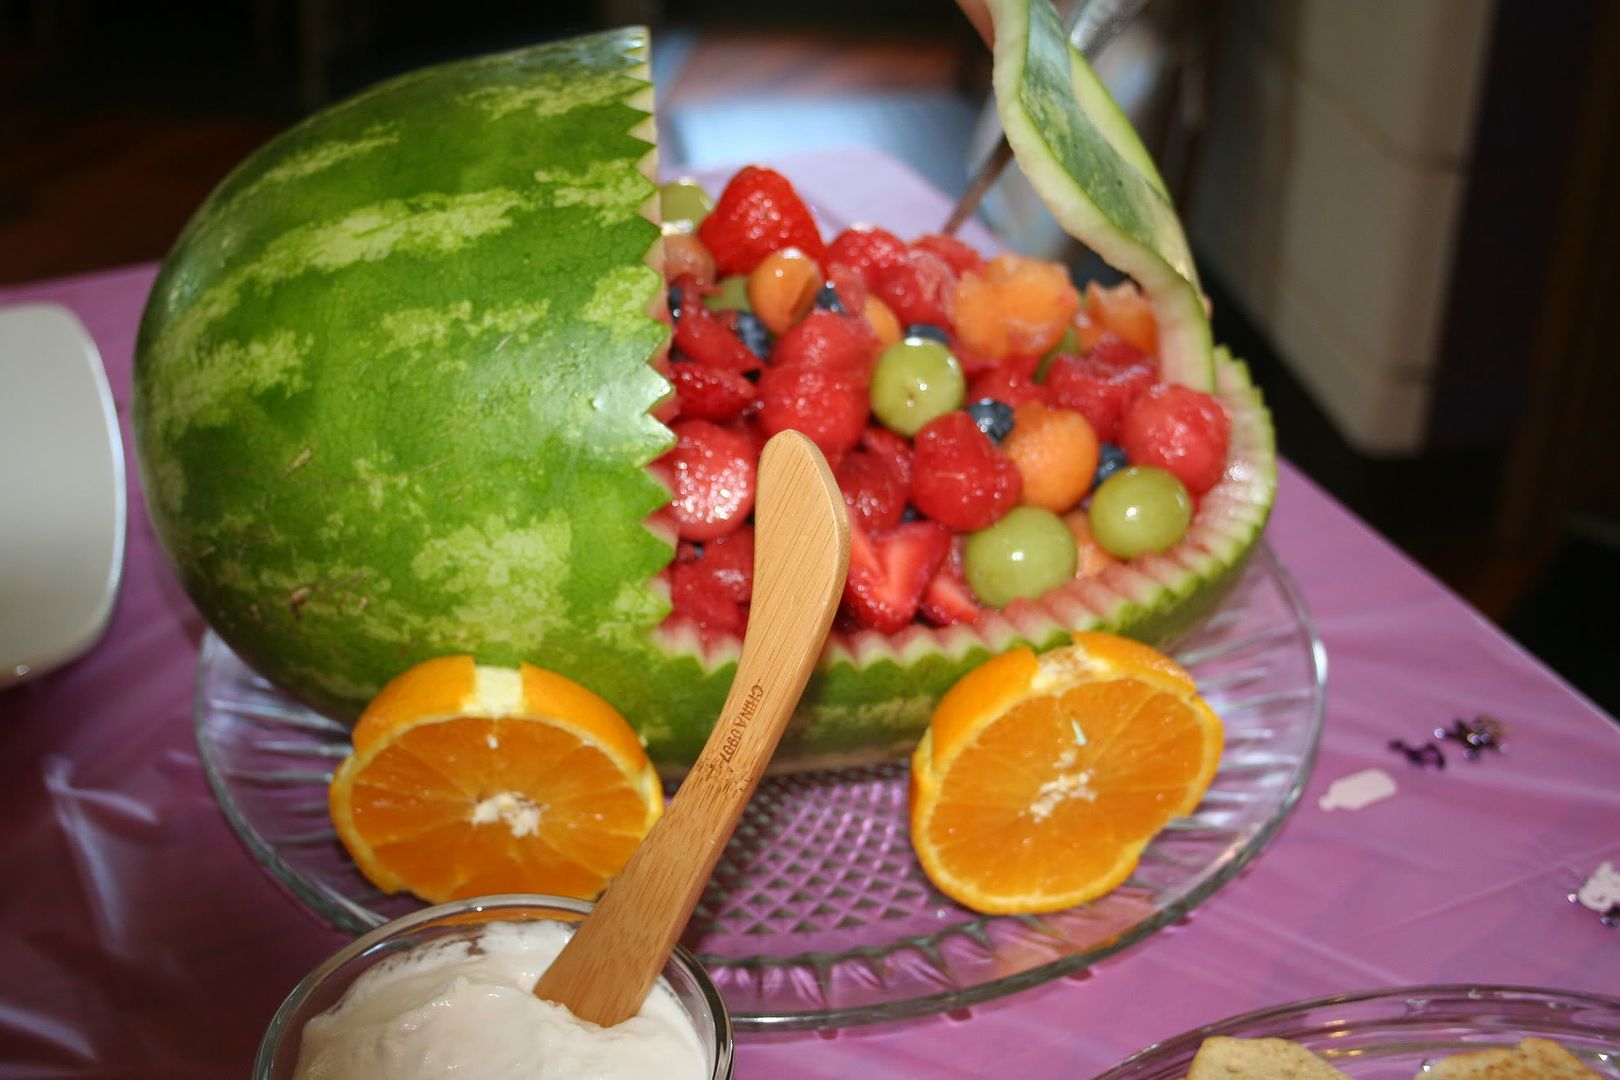
My friend Sarah and I, hosted an owl themed, girl baby shower for our friend.  Here's some of the pictures of the decorations and food!  The color theme for this shower was pinks and light teal.


Sunday, September 23, 2012

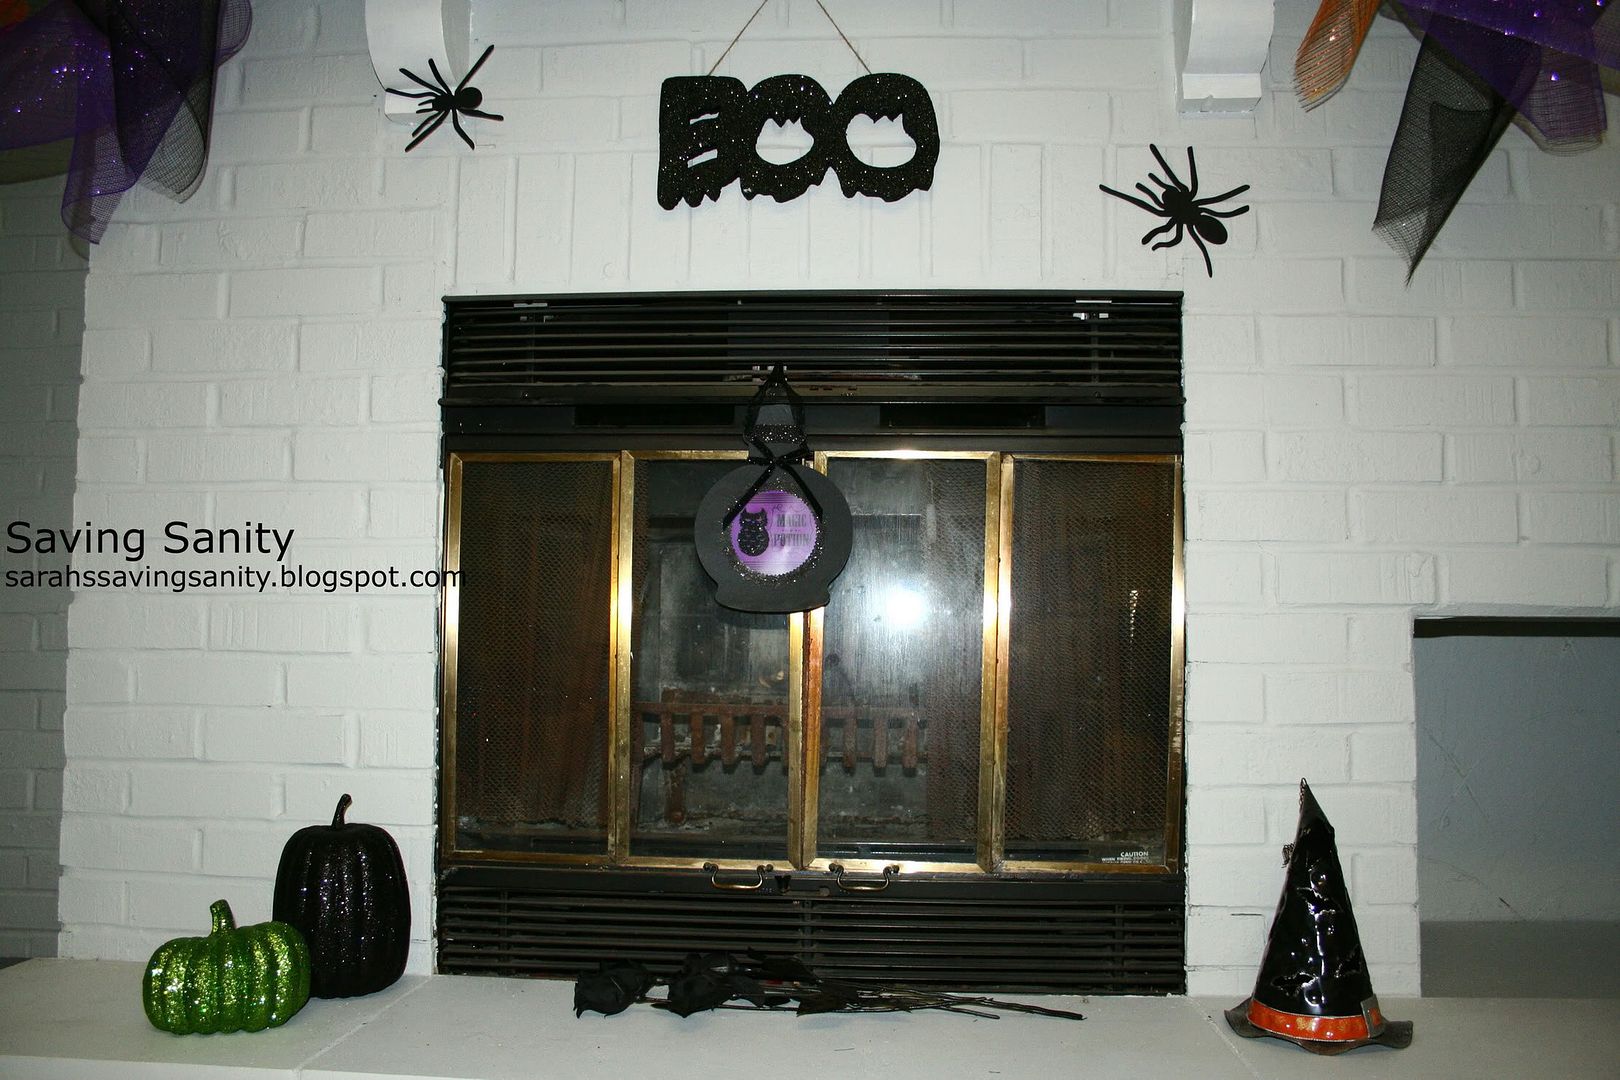
Halloween Mantle

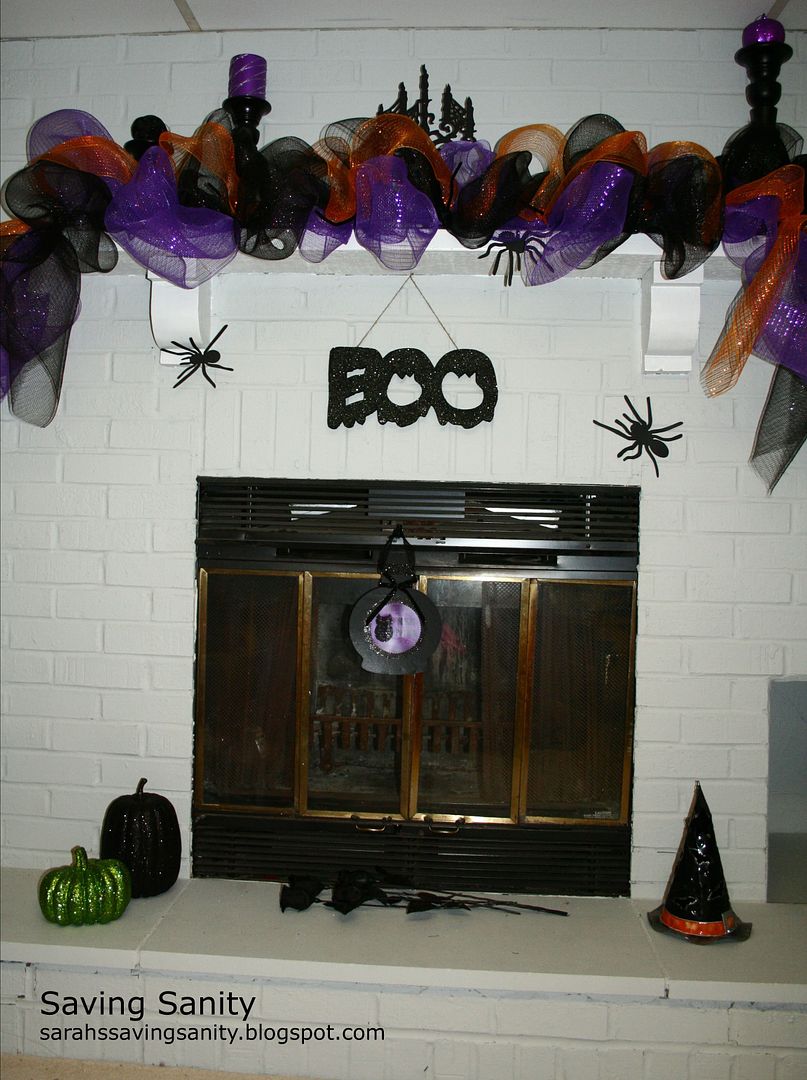
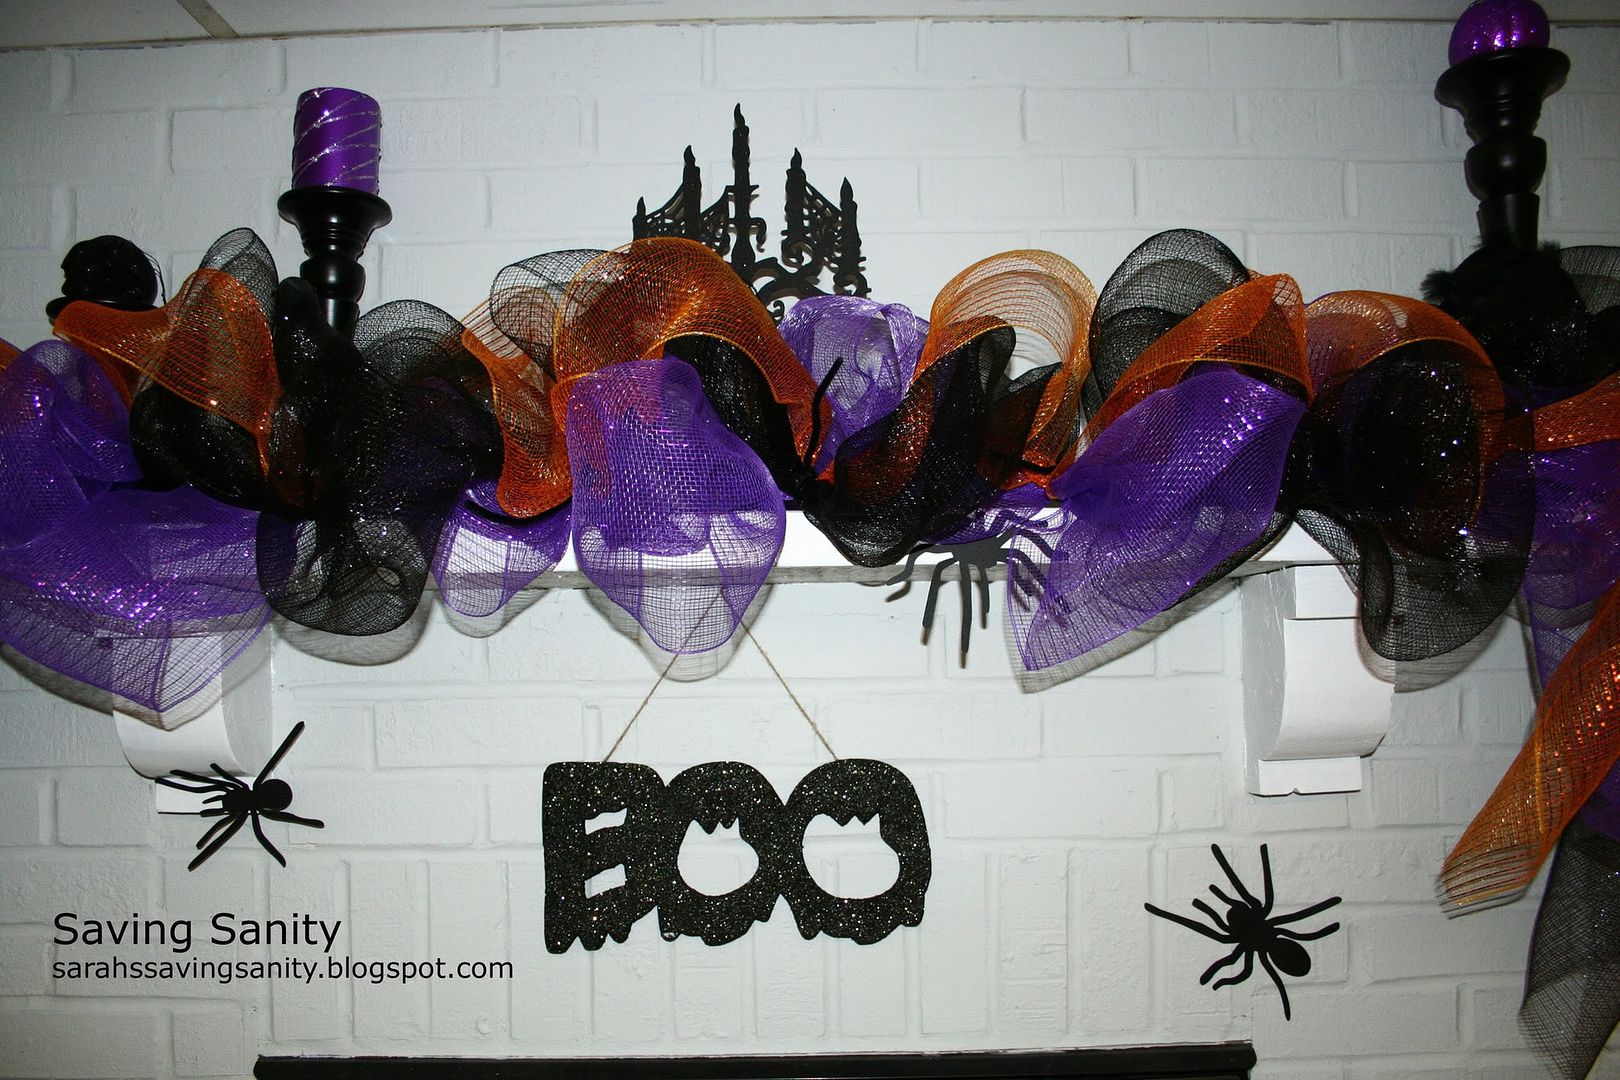
It's been cooler around here, so I got out my Halloween decor.  I love the colors for Halloween!  I used three rolls of deco mesh (but still have leftovers), a big roll of black and purple from Hobby Lobby and a smaller roll of orange from Michael's.  If you live around St. Louis, I highly suggest visiting the Michael's off of Brentwood...the store is two stories.  I was in crafter's heaven! 


New Front Door & Fall Wreath

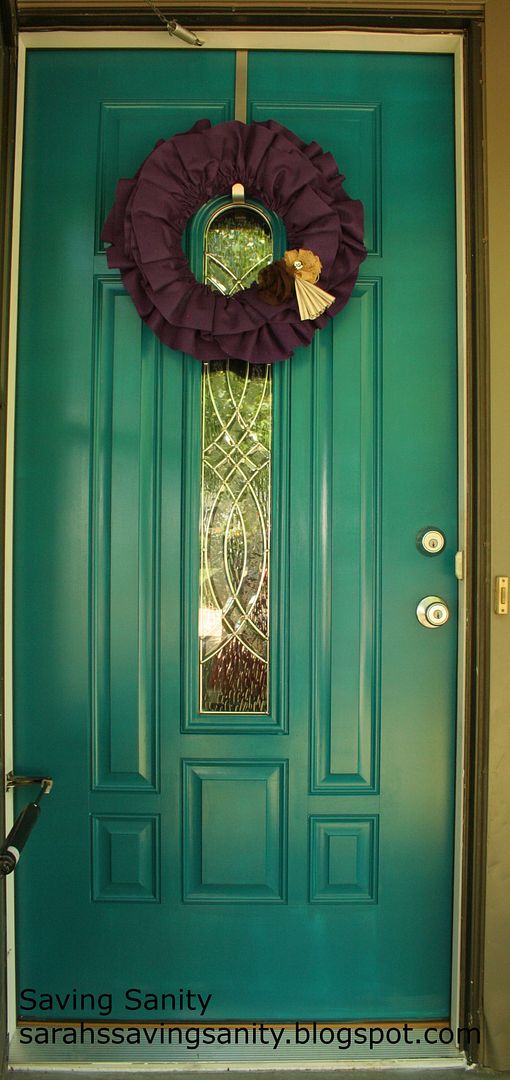
During the grueling, hot summer, my wooden front door warped and was no longer functional.  I've wanted to paint the door for a long time, but getting a new door had never crossed my mind.  Funny how those home repairs pop up unexpectedly!  So to Lowes, I went.  I found a beautiful door that was actually on clearance and in my price range.  It only came in white, which meant I had to paint my new door.  I chose a teal color from Lowes.  I followed this tutorial with the one exception of adding Floetrol to my paint to reduce brush strokes.  It turned out better than I had expected.  Without further ado, here she is:
 
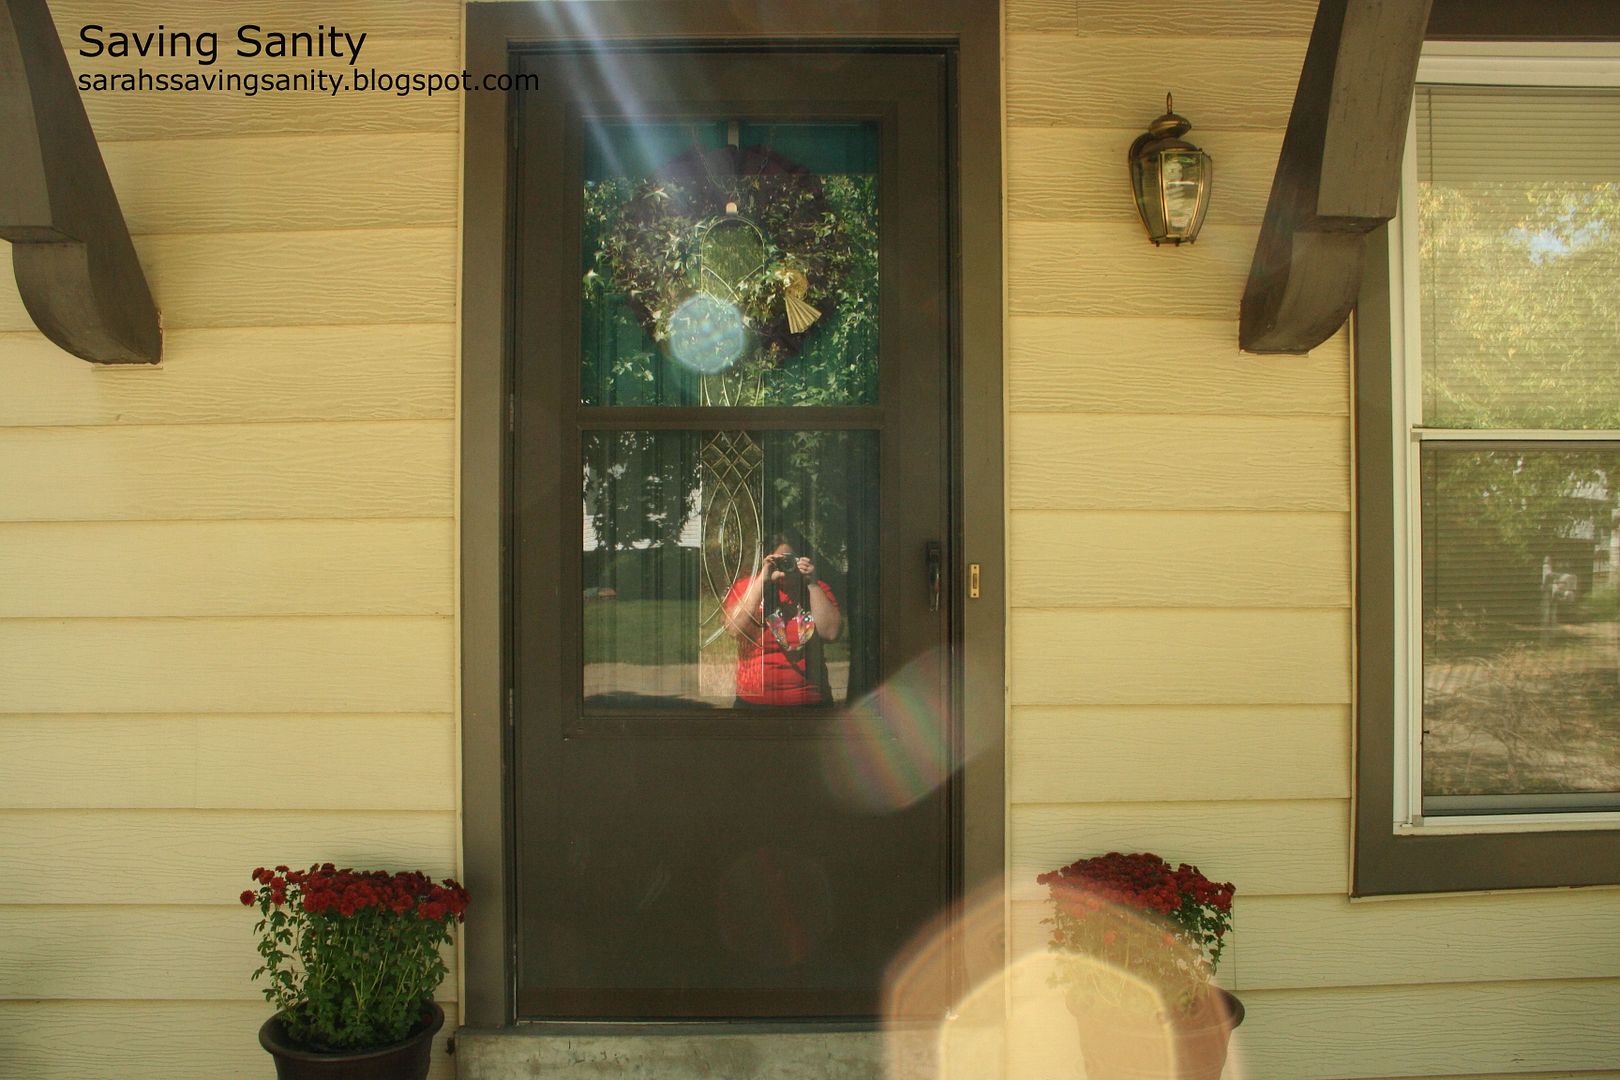
While I would love to only have the main door, it isn't feasible with my dogs.  So, the next step is to get a full glass (with a screen) storm door.  It will show off my new door a lot more!  Here's a current shot with the storm door.  Hey, it's progress!


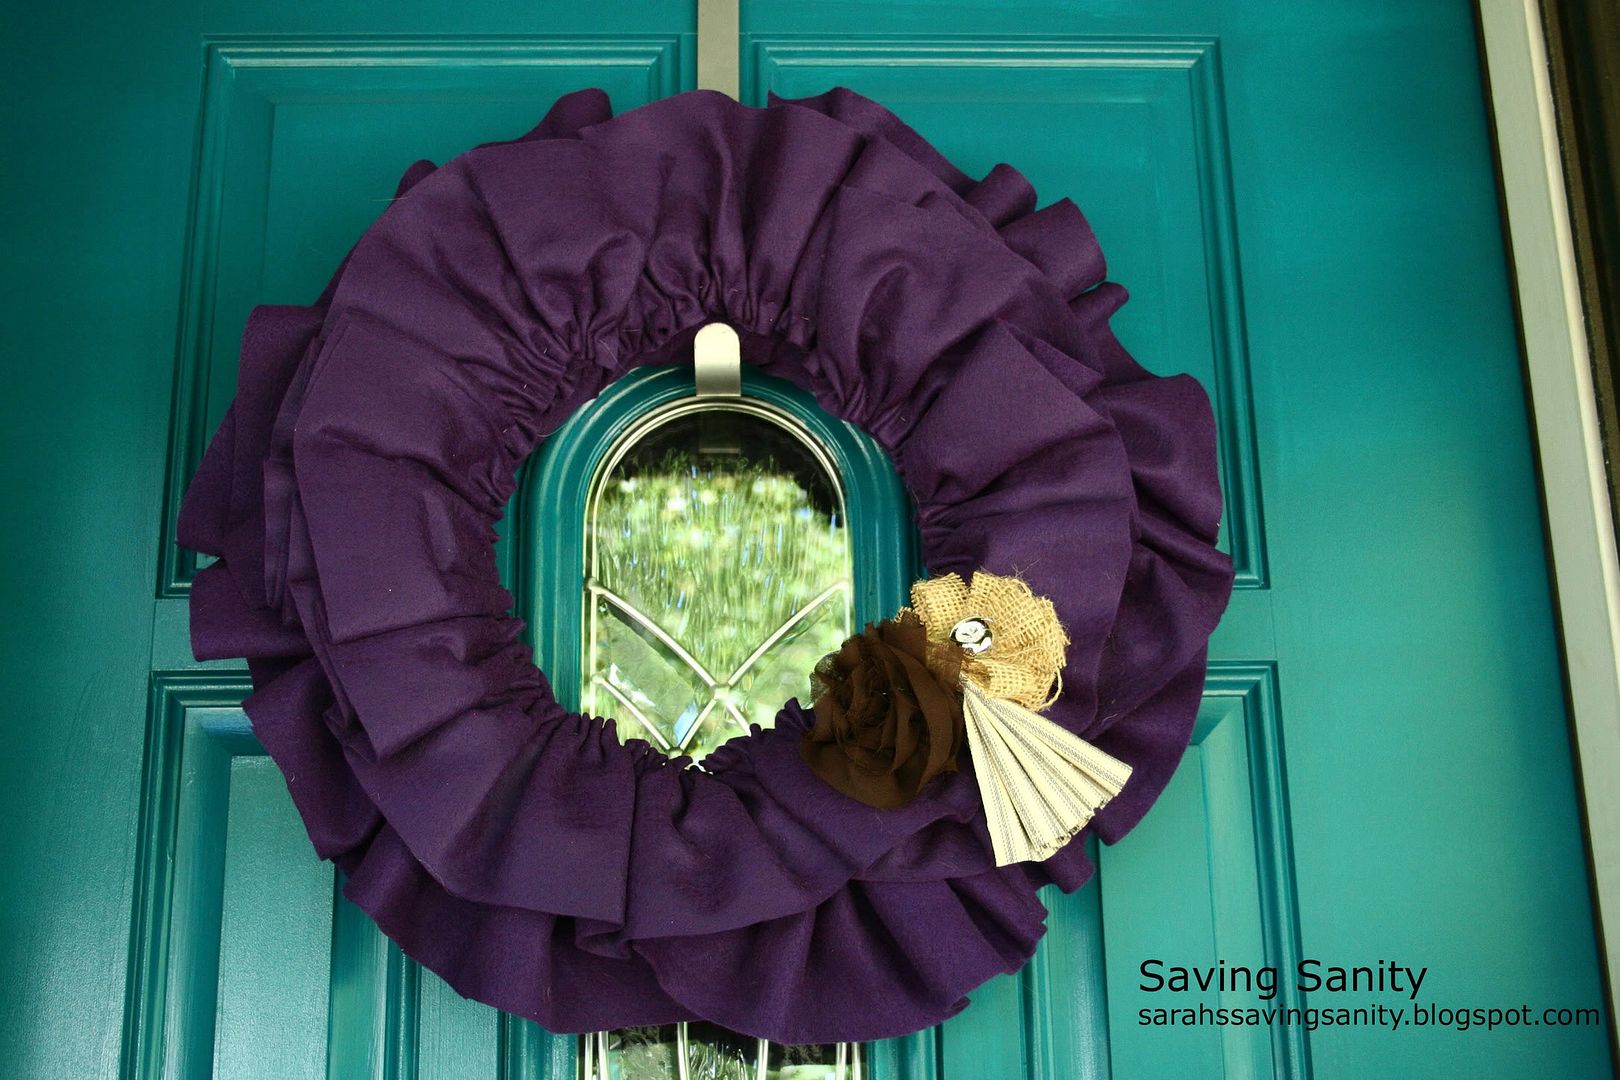
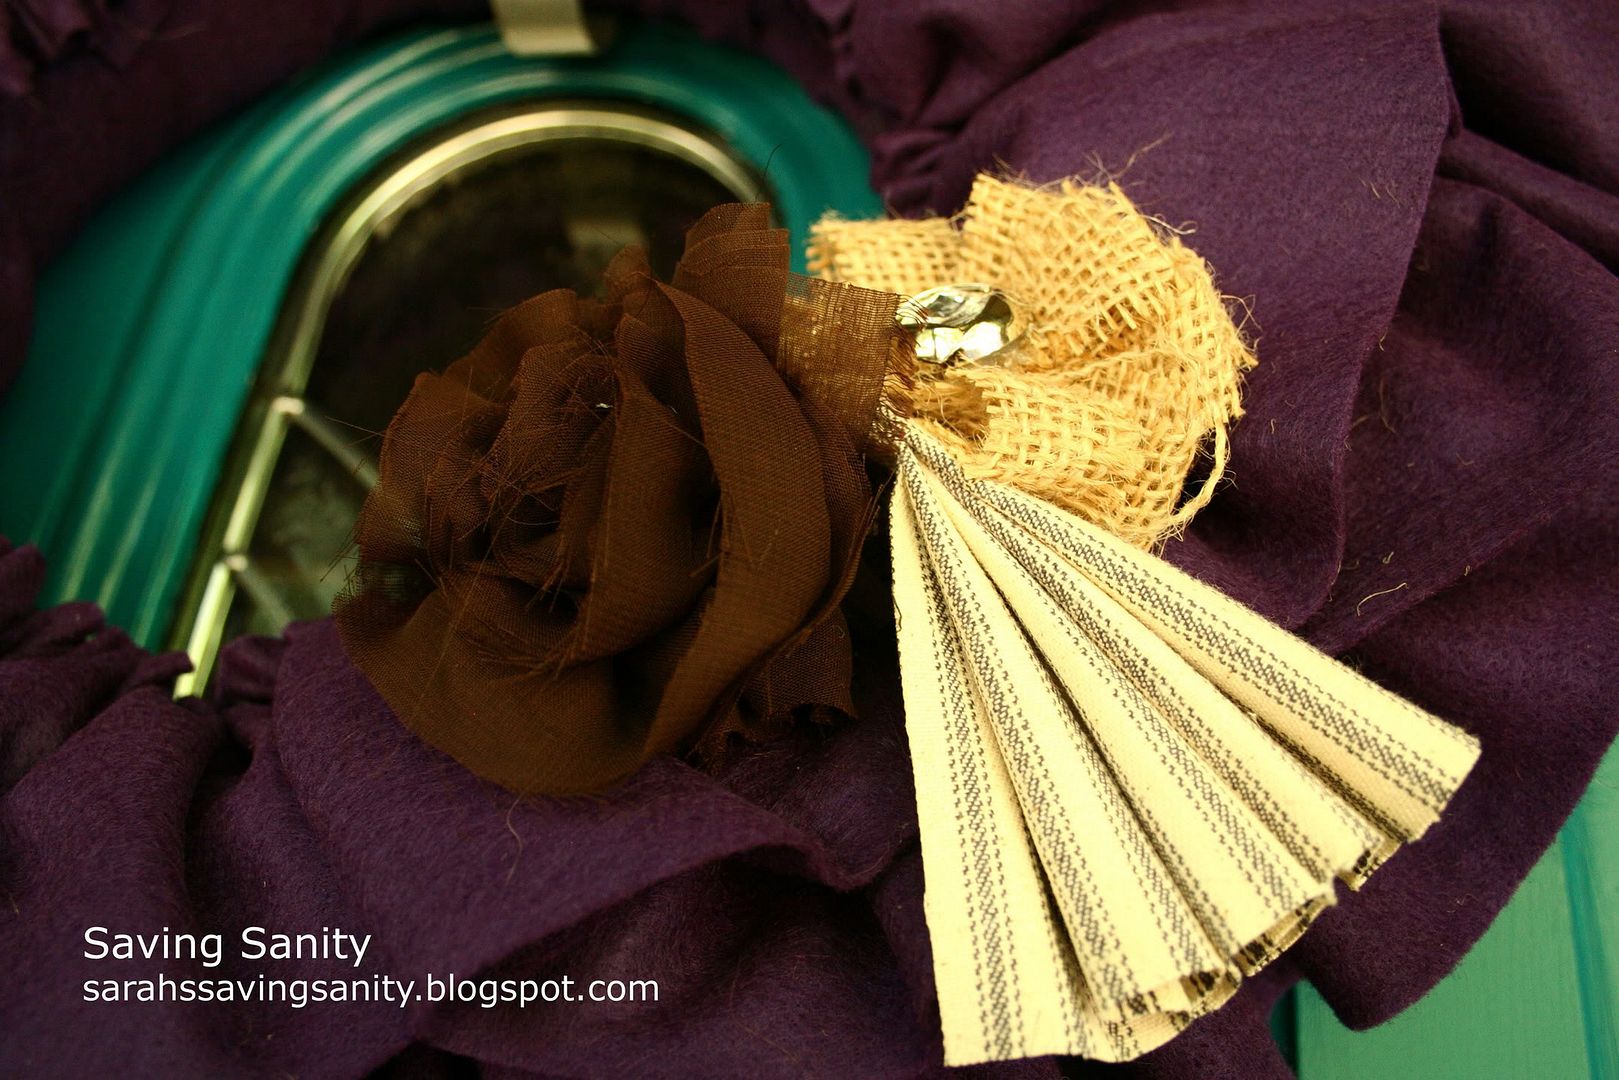
In addition to the front door, I also made a new fall wreath.  I love the colors together!  I cannot take credit for the idea behind the wreath, I followed this tutorial .


Monday, December 5, 2011

I Love My Gingerbread Man!

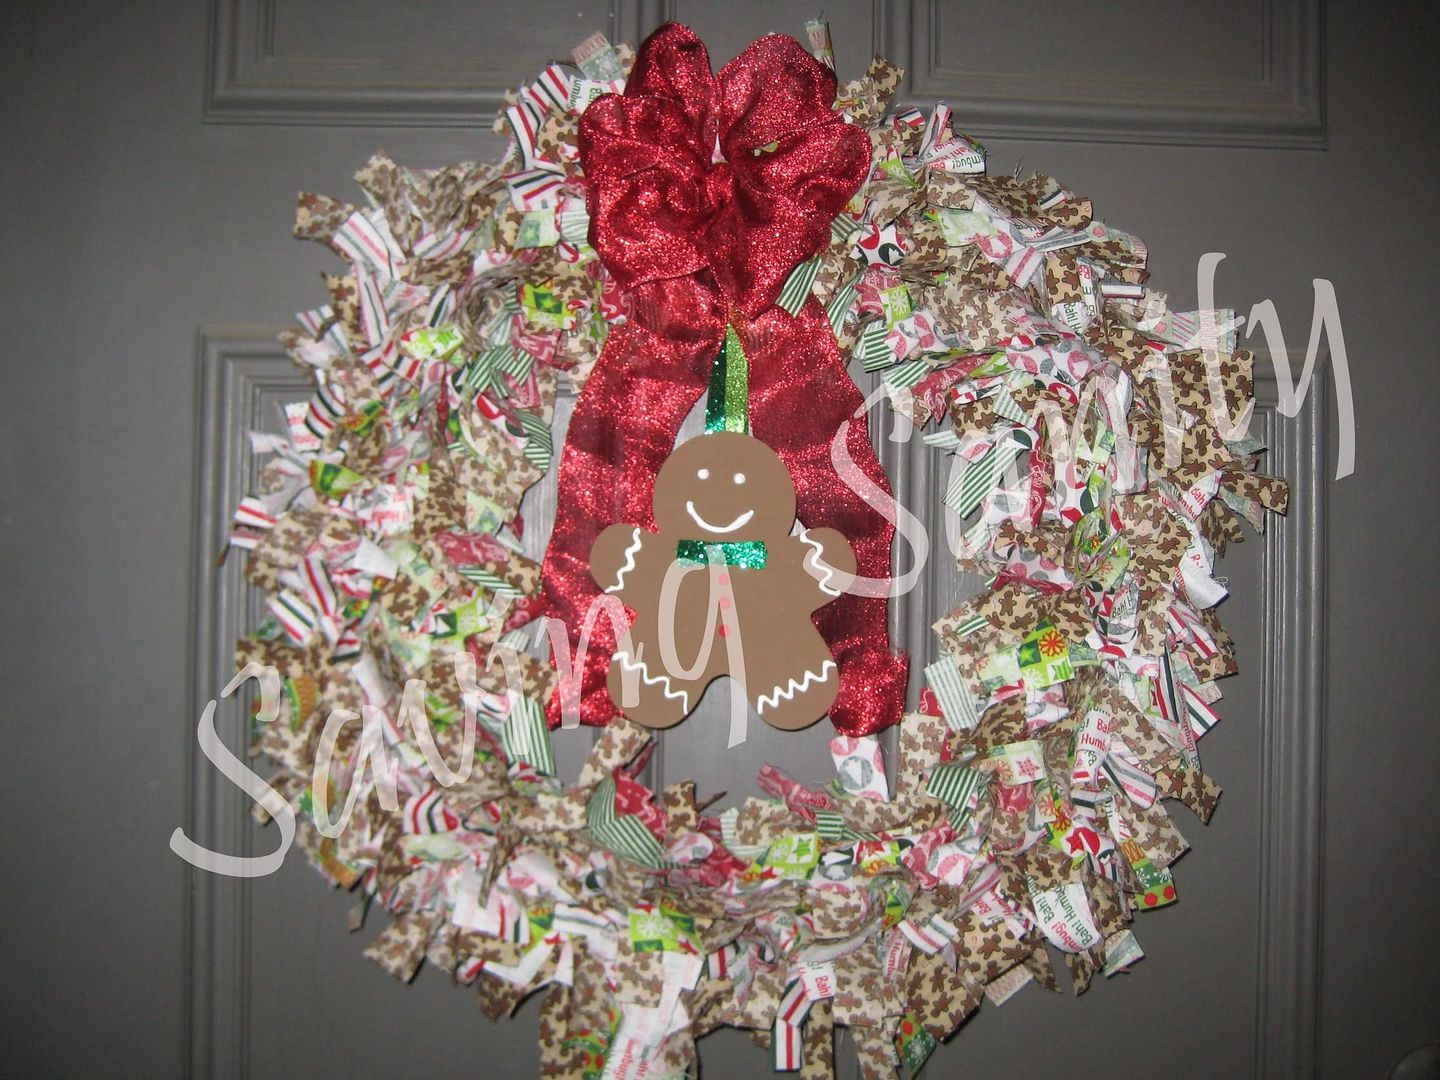
Get your mind out of the gutters...haha!  Here is my wreath that I made for Christmas!  I'm in love!  It was so simple to make!


Supplies needed to make a Christmas Rag Wreath:

  • 18" wire wreath form (found in the floral section of a craft store)
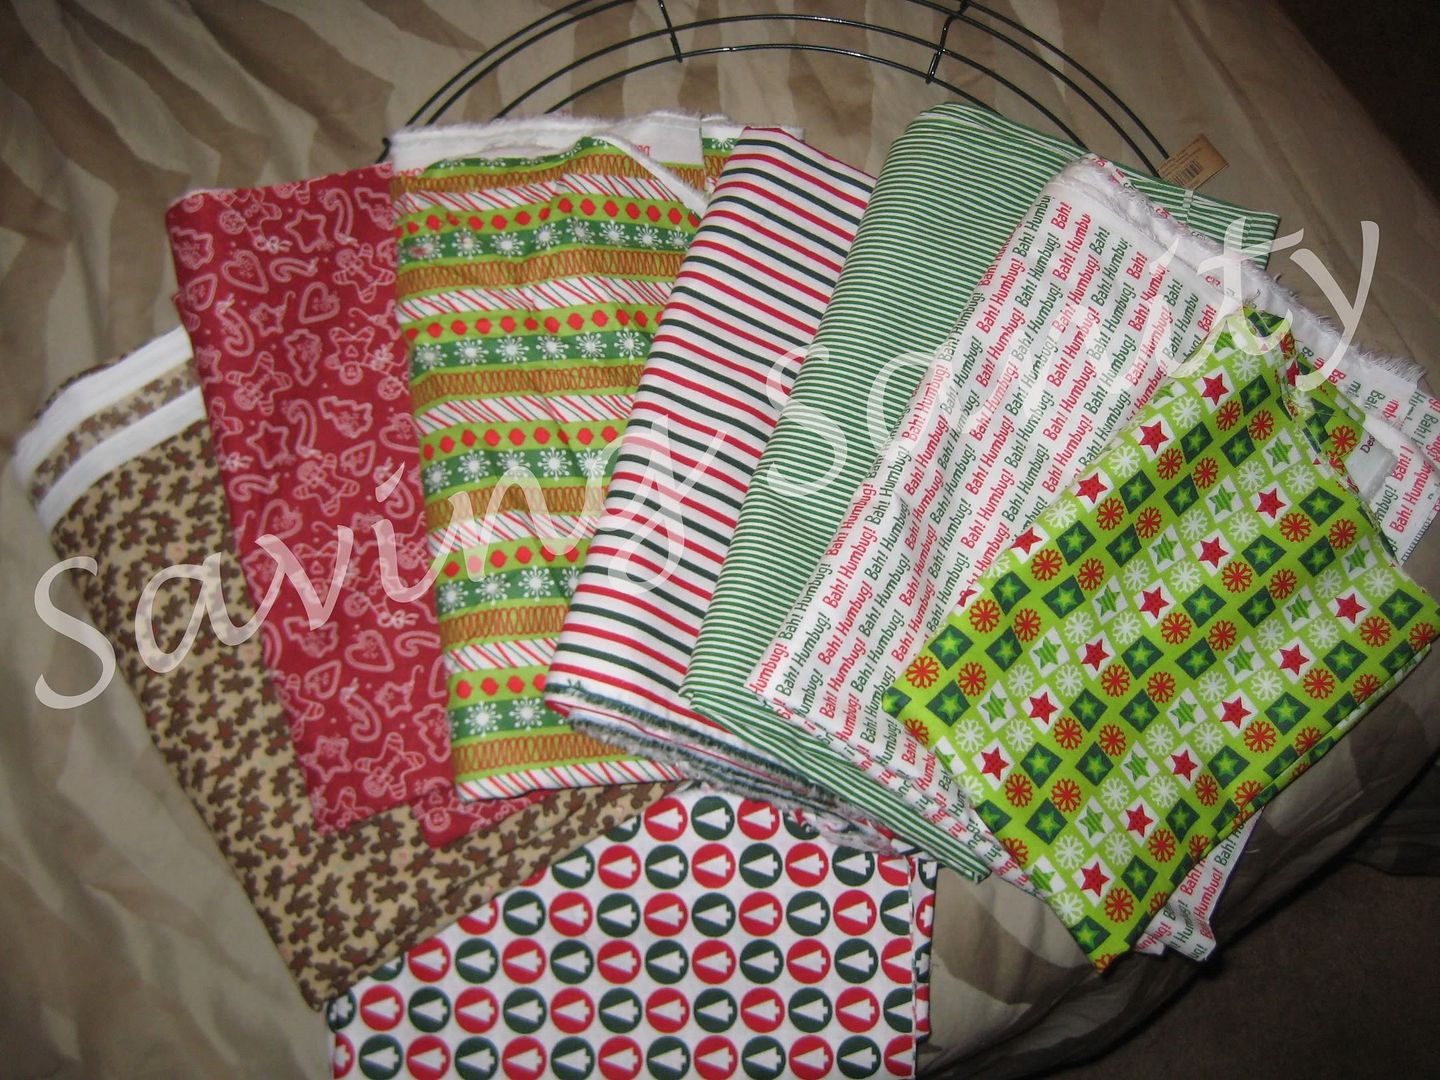
  • Lots of fabric (I used about 8 yards for a wreath this size)
  • Ribbon to make a bow (or a pre-made bow)

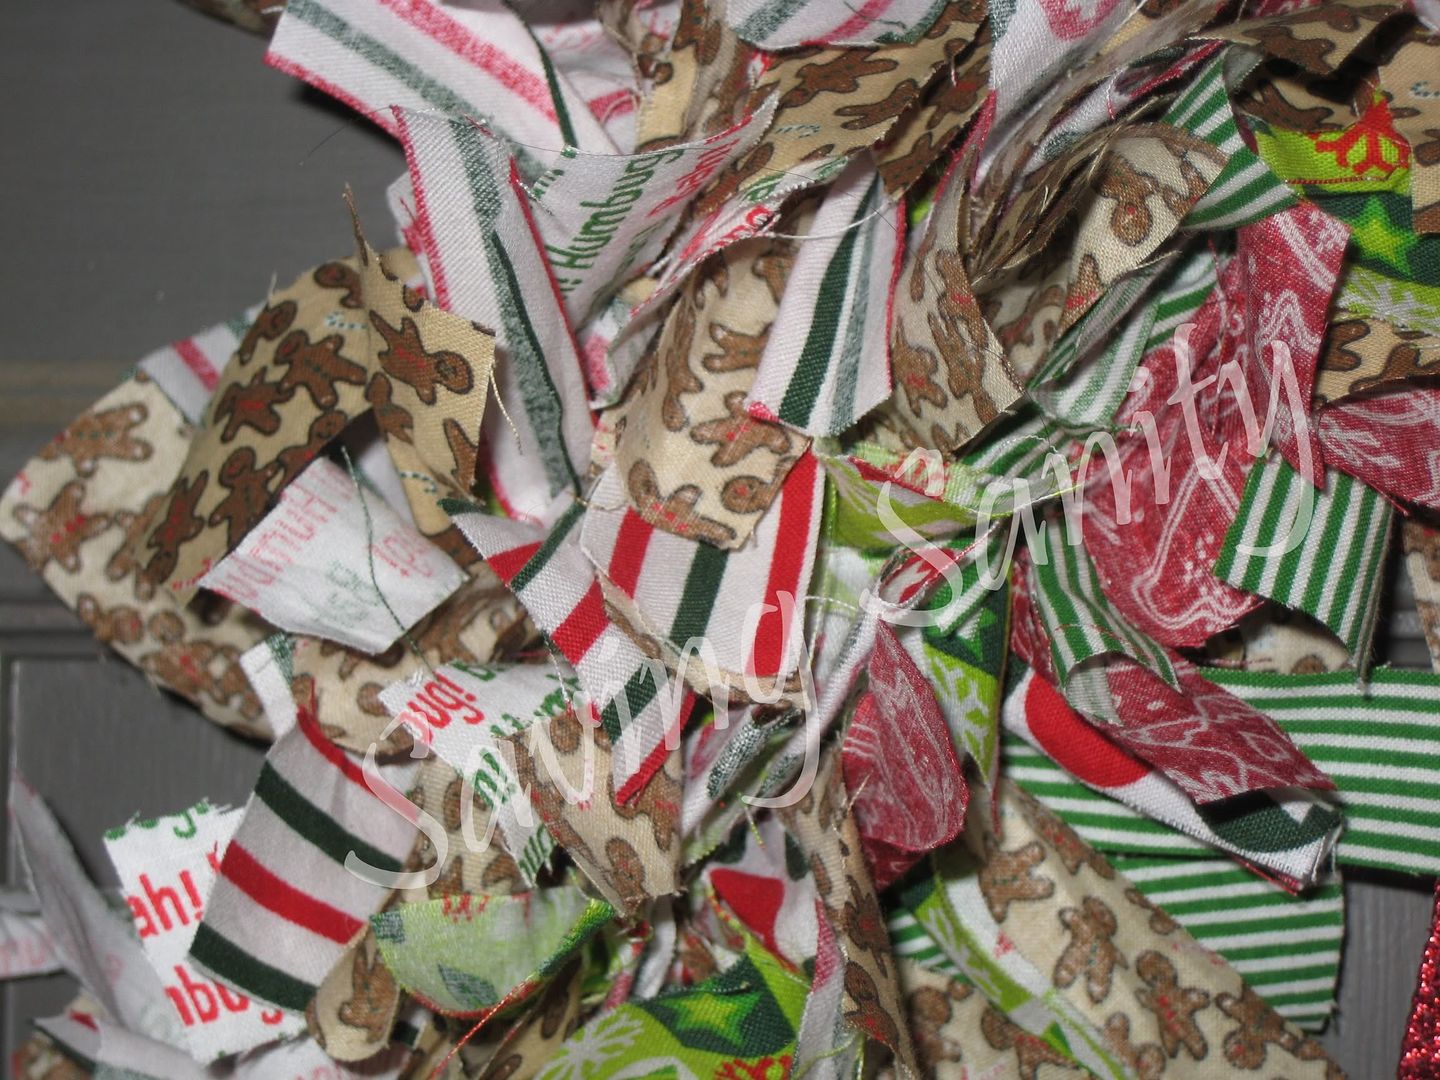
I chose 8 different Christmas fabrics.  I got the cheapest ones at Joann's fabric store ($2.99 a yard).  I'm really loving the use of bronze and brown for Christmas this year, so I chose to repeat the gingerbread fabric on each of the four rings on the wreath.  If you're looking closely at the fabrics, I did end up with a "Bah humbug" one, mainly because I liked the colors! 

I began by cutting the fabric into 1" x 8" strips.  This step does not need to be exact!  Figure out which fabrics you want on which rings and start tying!  I used a standard knot...I didn't want all my hard work to come undone.  Keep tying!  This is definitely a mindless activity, so turn on the TV and knot away. 

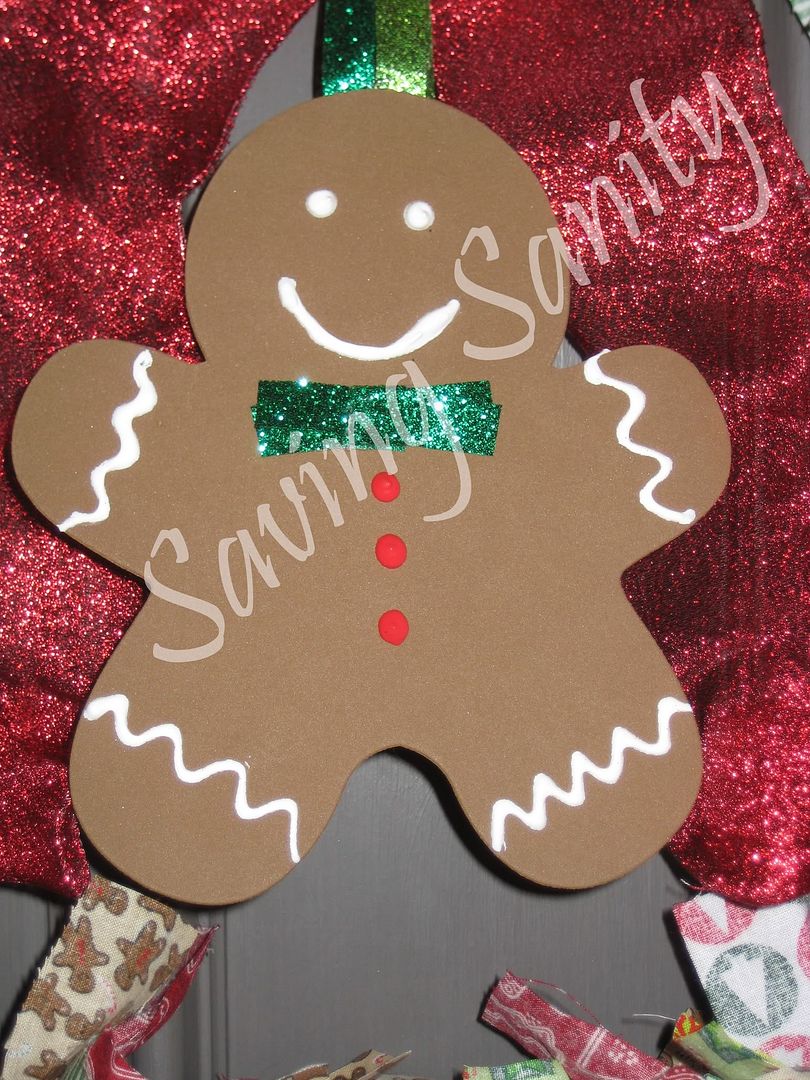
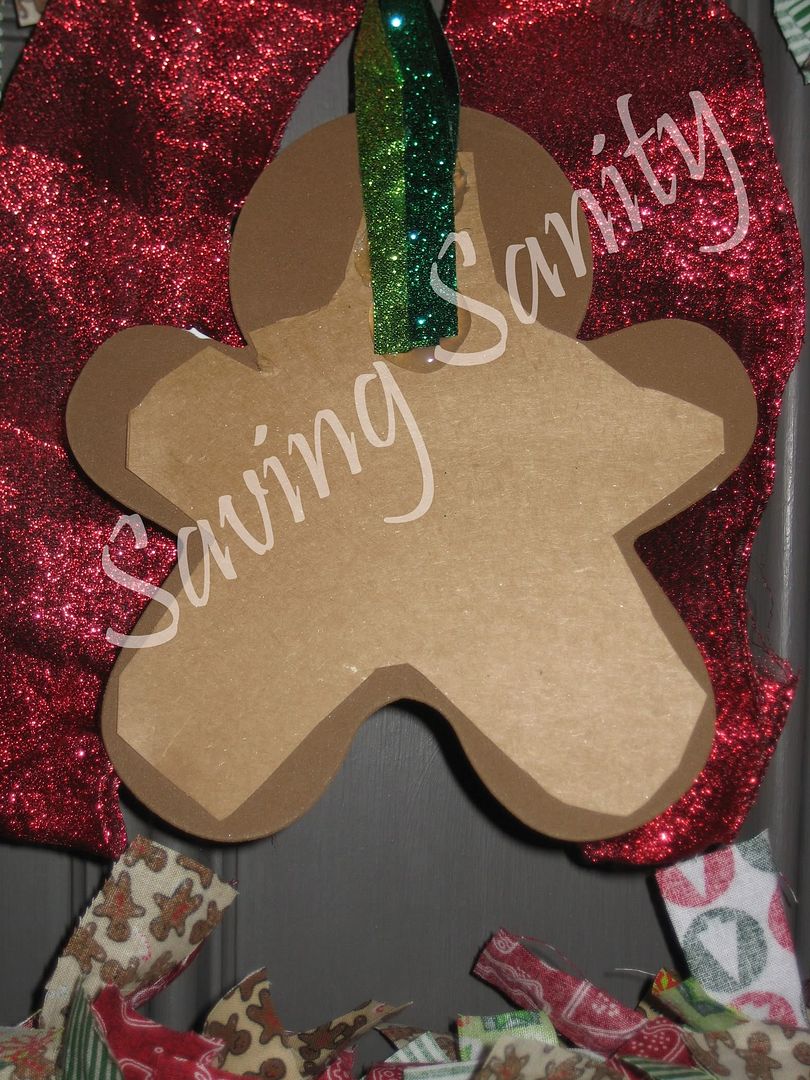
I had a red bow that I found on clearance from fall.  I simply tied it to the wire frame on the top.  I wanted something for the middle.  I tried several different Christmas shapes (in unfinished wood), but wasn't crazy about any of them.  Then I saw a pack of foam gingerbread men that I had bought from the Target dollar spot.  Perfect!  I used the puffy fabric paint to decorate him.  He needed a bow tie, so I made one out of green sparkly ribbon.  Once he was decorated, I held him up and realized he needed some support (the foam was very thin).  I used the thin cardboard from a 12-pack of soda and glued it to the back.  I used some sparkly green ribbon looped over the bottom ring to suspend him.


This wreath was super easy to make and works perfect with my front door.  There isn't much space between the door and the screen door.

Tuesday, October 4, 2011

Halloween Wreath

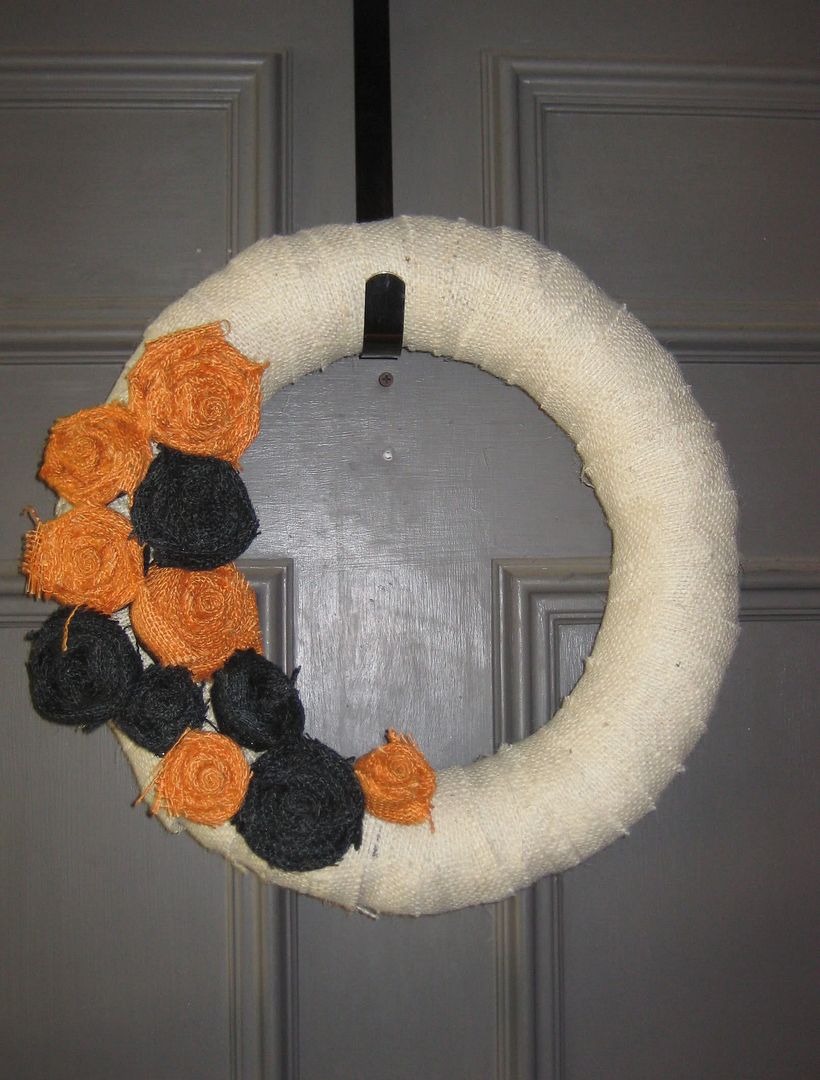
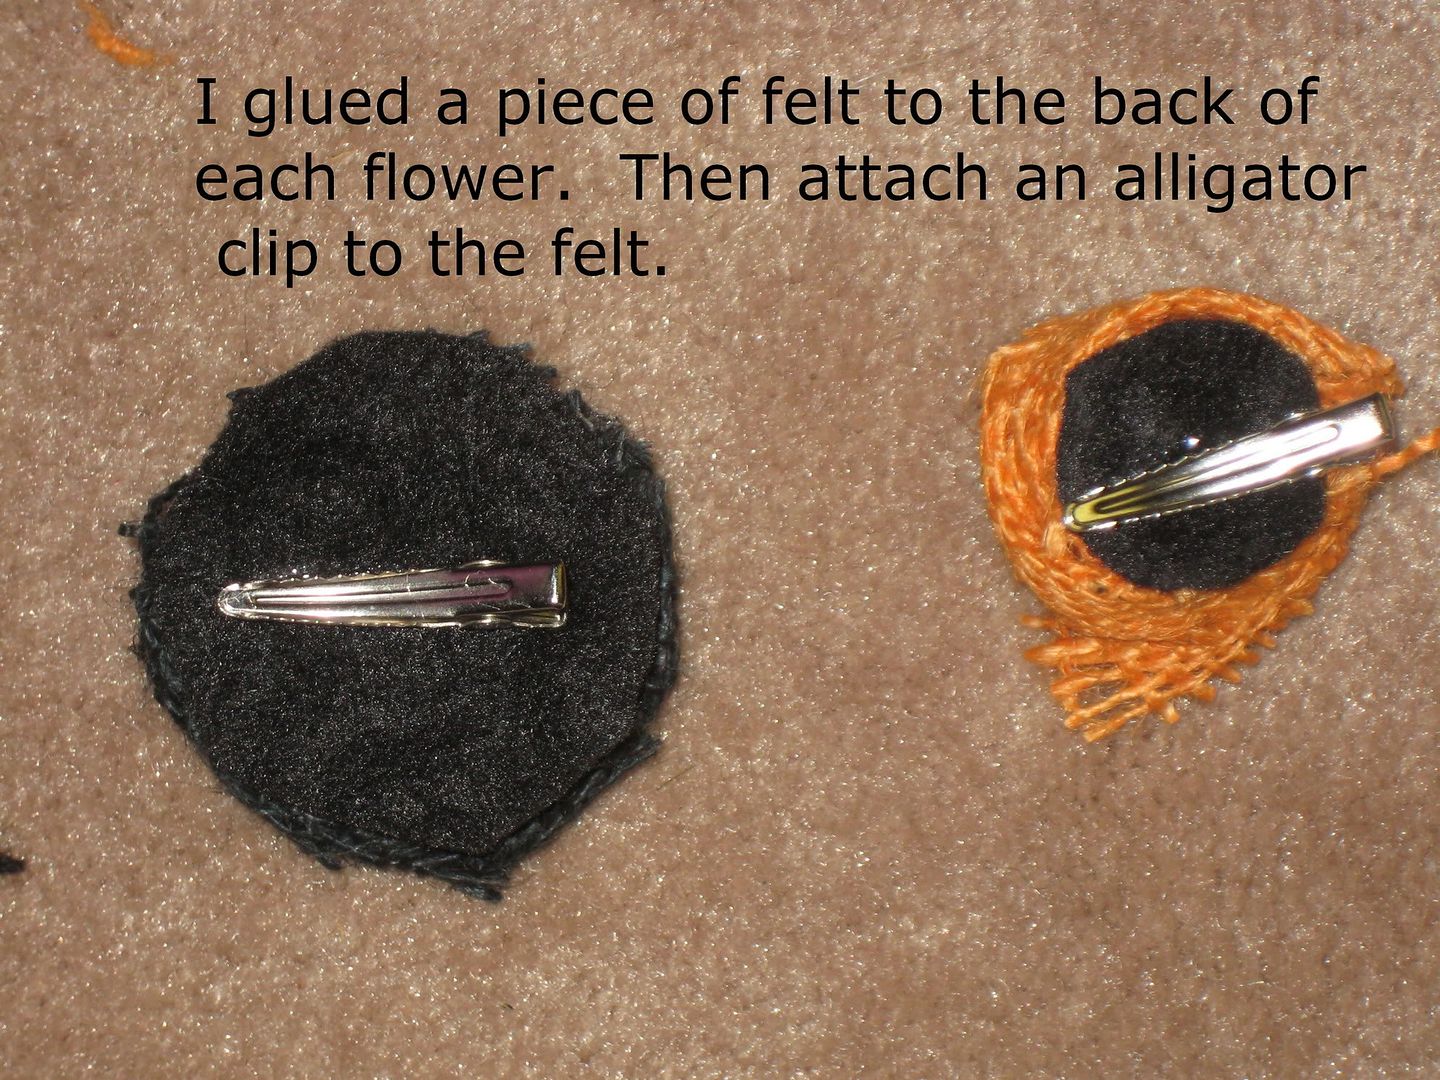
Sorry I've been MIA but I have done some crafting!  Here's a Halloween wreath that I made recently!  And the best part is that I can easily remove the orange and black flowers and put new embellishments on it.  Without further ado, here's the beauty:


Supplies Needed:
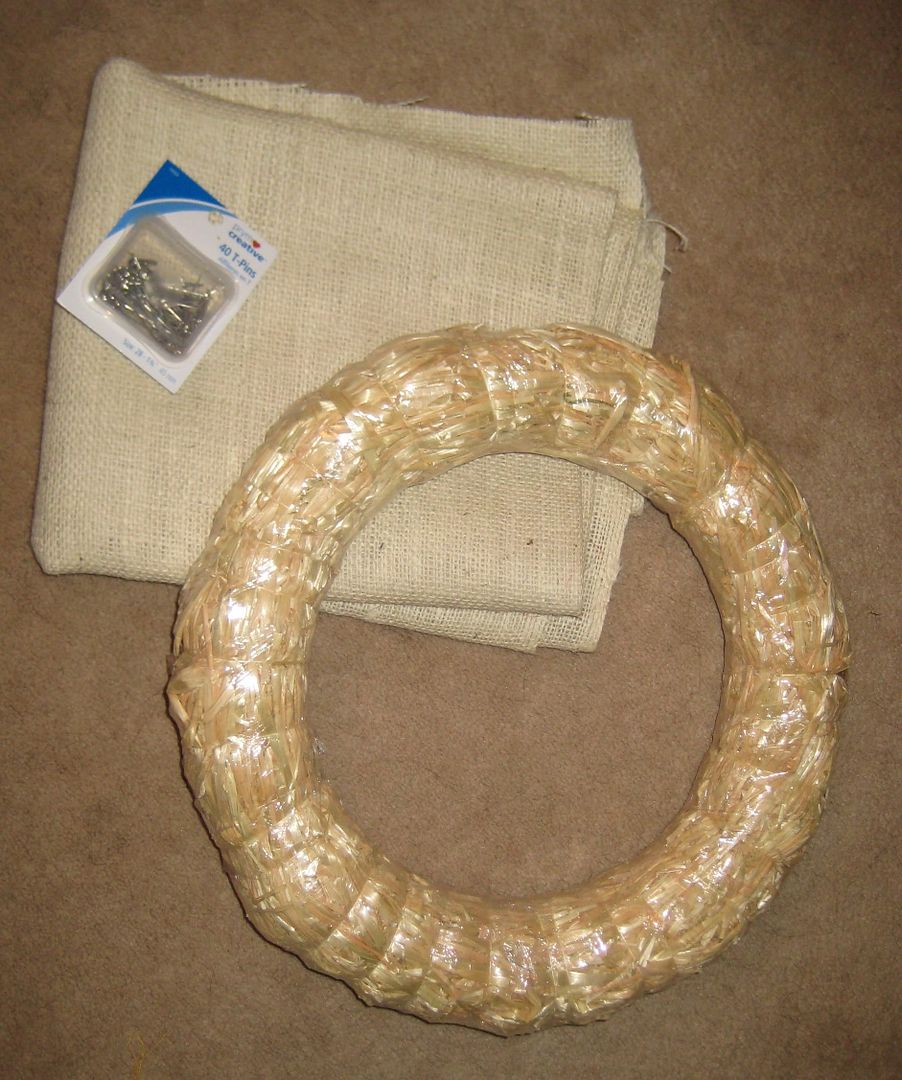
  • 1.5 yards light tan burlap
  • 3/4 yard black burlap (more if you want more flowers)
  • 3/4 yard orange burlap (more if you want more flowers)
  • Wreath form
  • Hot Glue
  • T pins

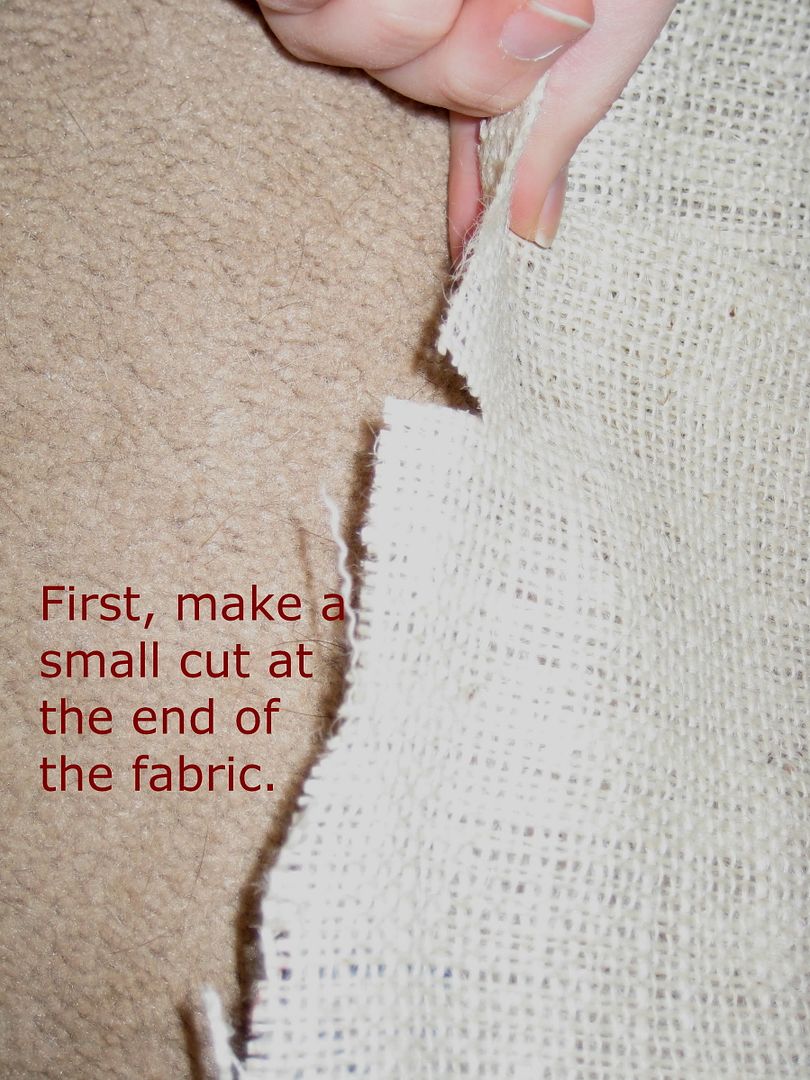
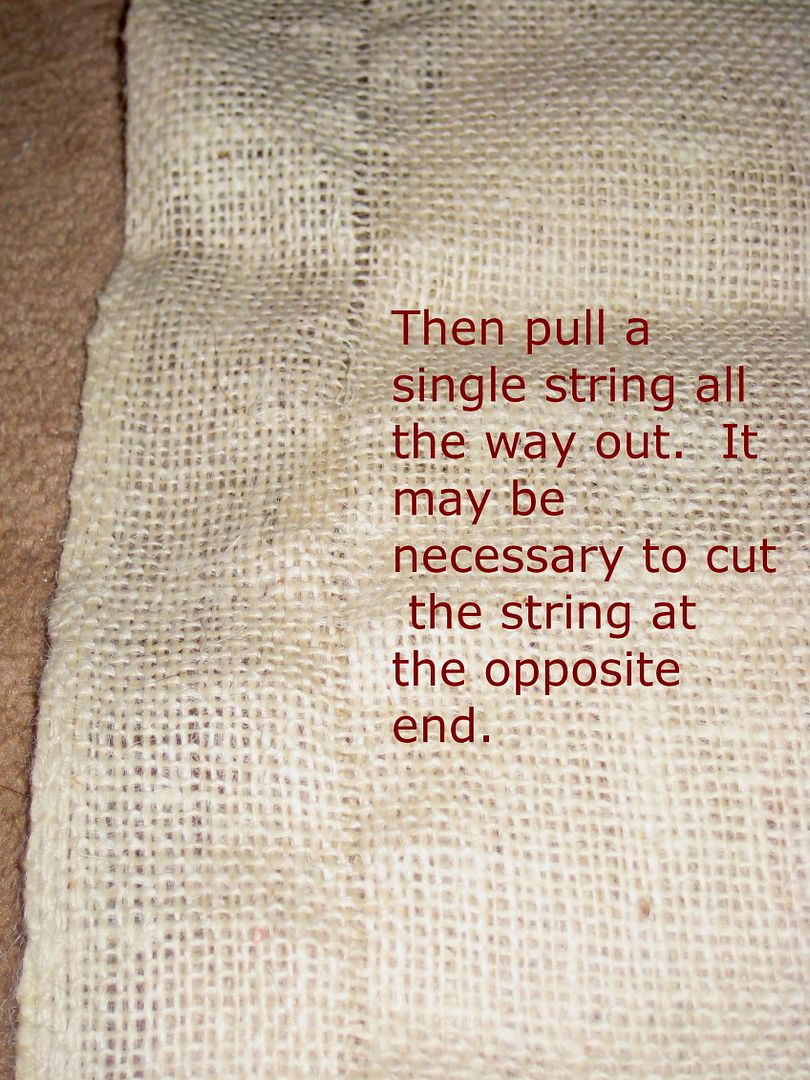
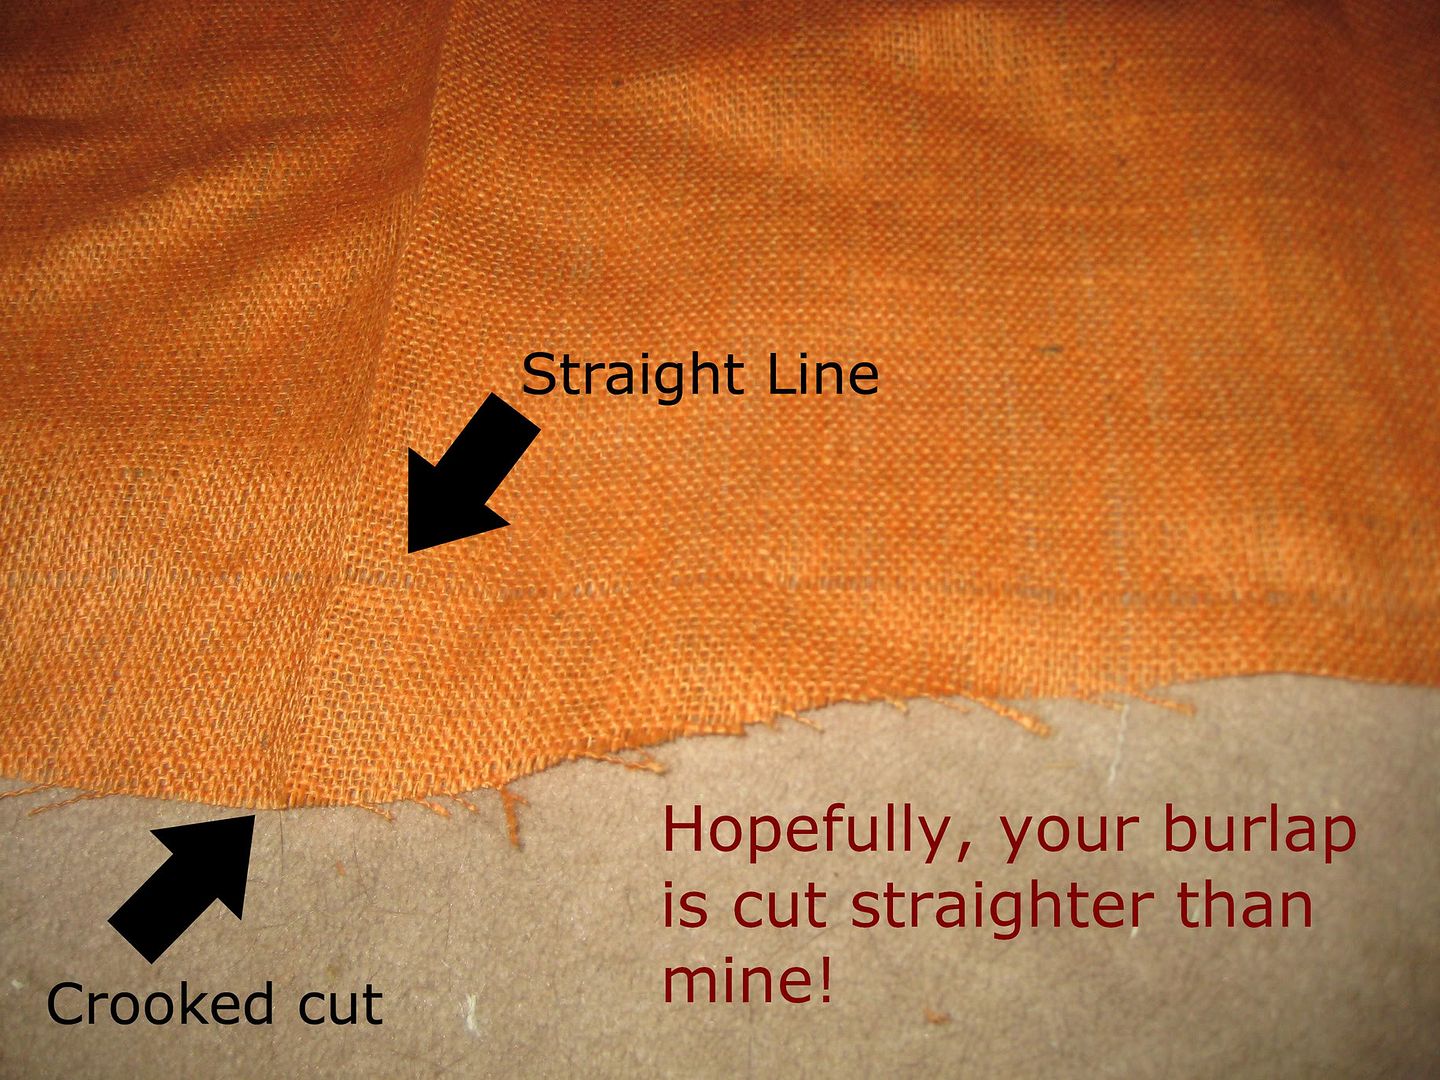
I kept the plastic on the wreath to keep the mess down.  First, cut the tan burlap into 2" strips.  To cut a straight line, follow these steps:


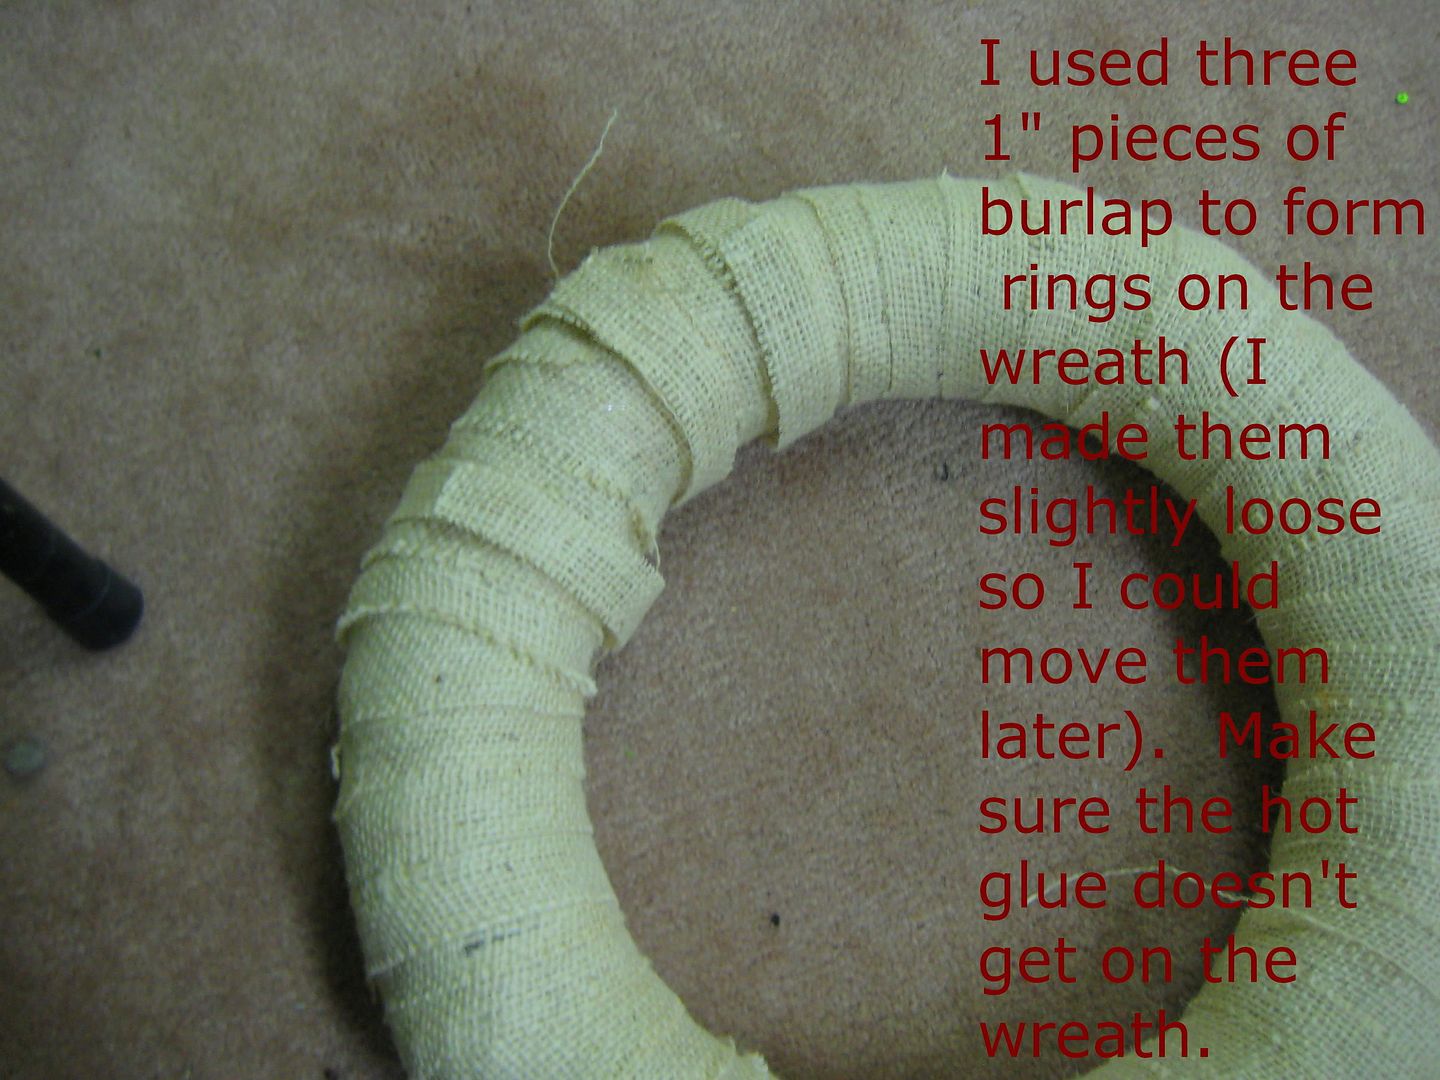
This leaves a straight line, just cut with scissors.  Next, I began to wrap the wreath with the burlap strips.  I've seen some blogs where hot glue is used to secure the ends.  I was worried about the hot glue melting the plastic, so I used T-pins to secure the ends to the back of the wreath. 
I cut the black and orange burlap into 1.5" strips using the same method as before.  I made the rosettes of varying lengths of burlap (2 per strip and the shortest length I used was 15").  Craftaholics anonymous has a great tutorial on making burlap roses!

I played around with the arrangement before I decided on one I liked!  And the most exciting part is that I will just replace the flowers after Halloween for a fall wreath!!

I got my inspiration/guidance from these two sites:
The colors from Just Sew Sassy and the re-usable wreath idea from Craftaholics Anonymous.


Linking up with
HookingupwithHoH