Since it's almost Thanksgiving, it's about time I get around to posting my fall wreath! I used the same wreath from Halloween (if you missed that, click here). I simply removed the Halloween flowers and made some new ones. I used fleece because Wal-Mart didn't have the fall colors in felt. I made two different types of flowers. Then I added a sparkly "D" with some fall ribbon. The letter was a cheap unfinished wood one that I painted and glitterfied (yep, I just made up a word!). The ribbon was a roll I got on clearance from Michaels for $1. All in all, this was a cheap wreath!
Wreath-already had
Flowers-4 colors of fleece
Ribbon-$1
Wooden "D"-already had, but it's less than $1 normally.

Showing posts with label holidays. Show all posts
Showing posts with label holidays. Show all posts
Sunday, September 23, 2012

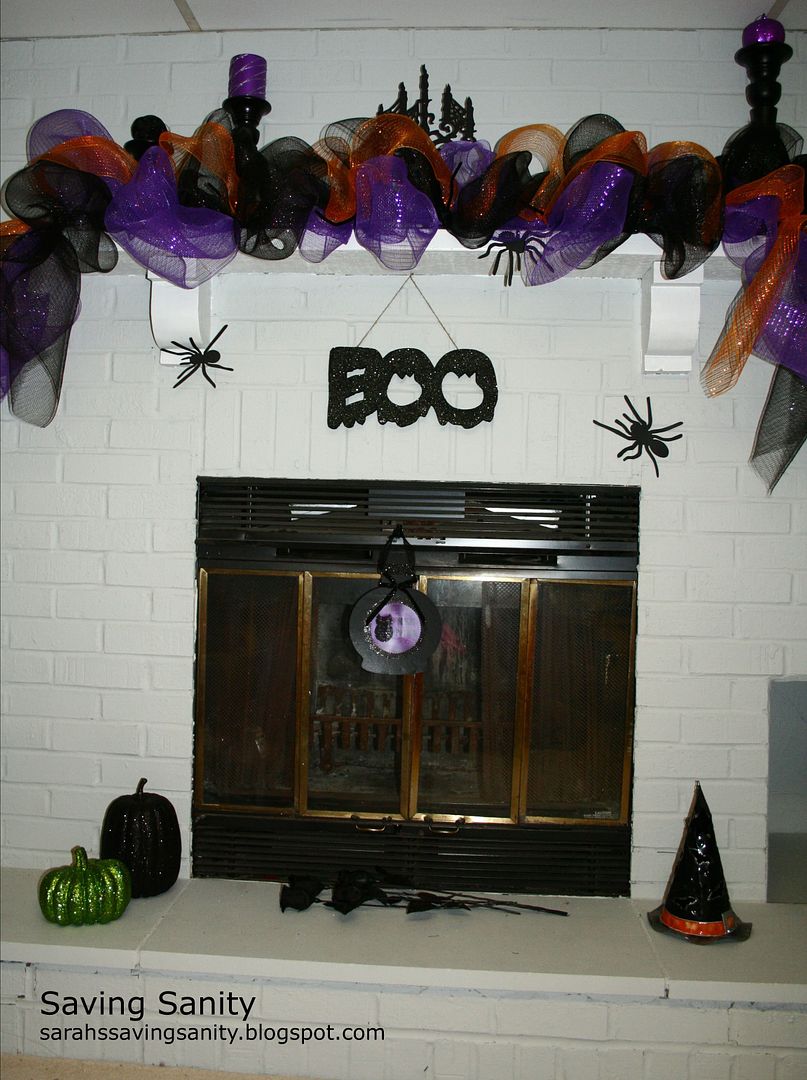
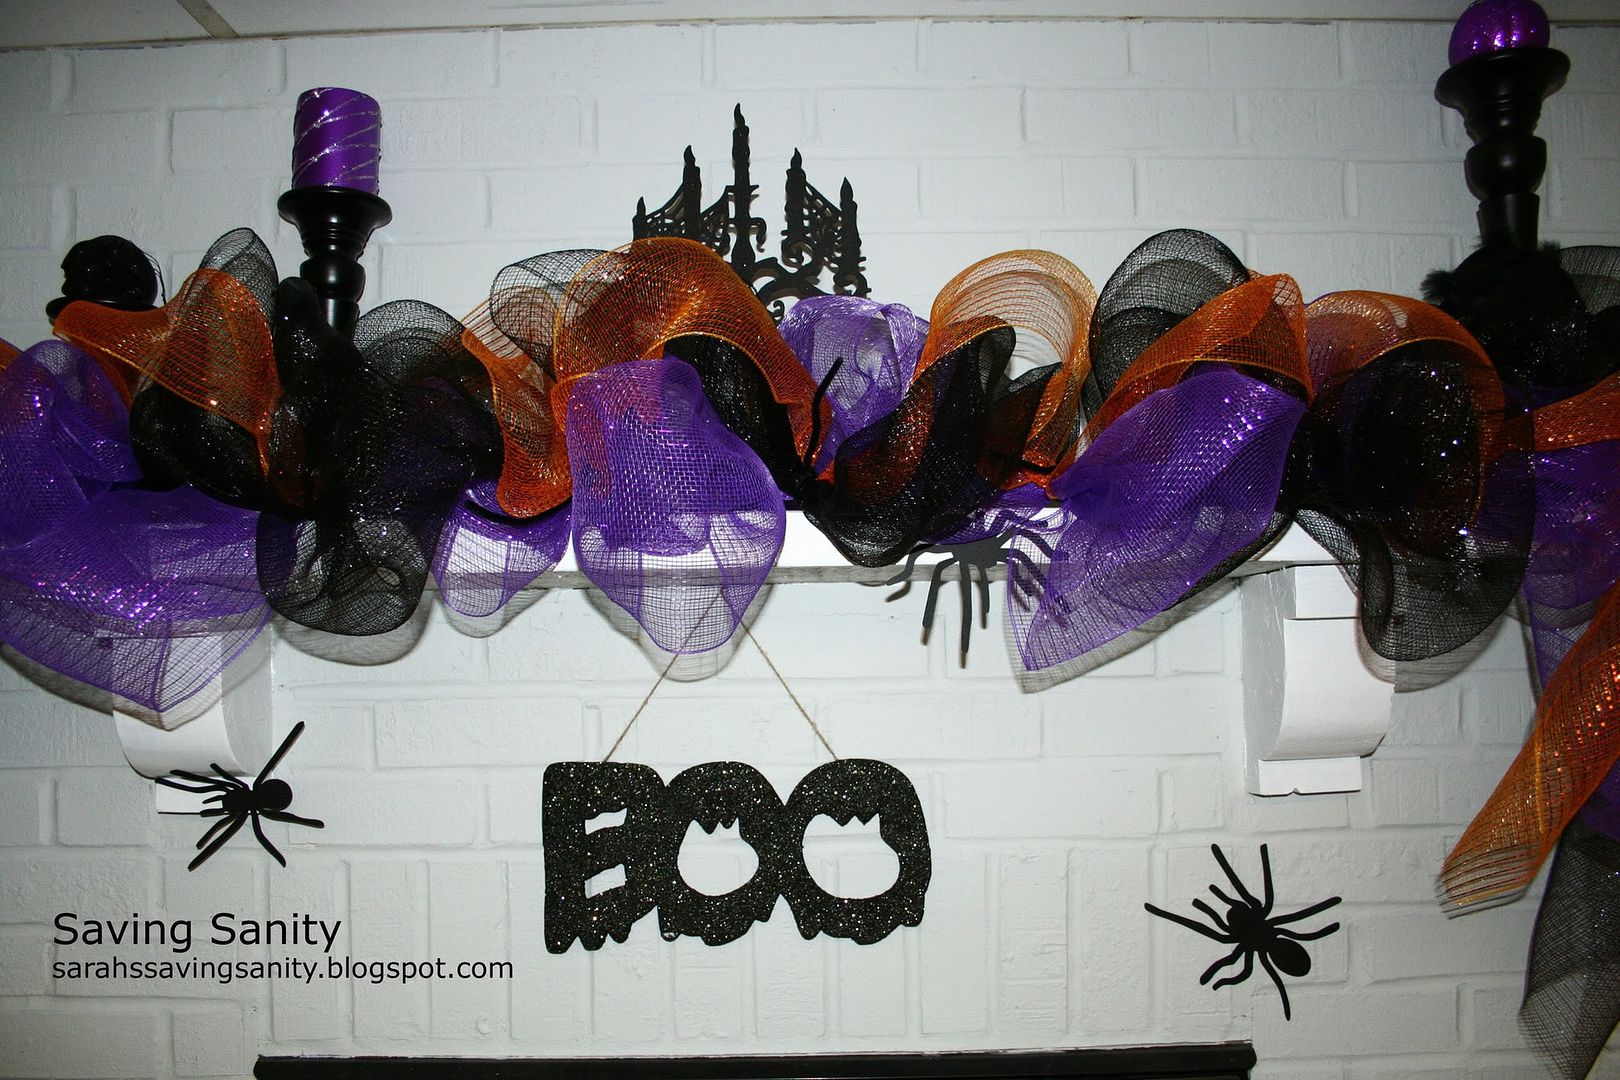
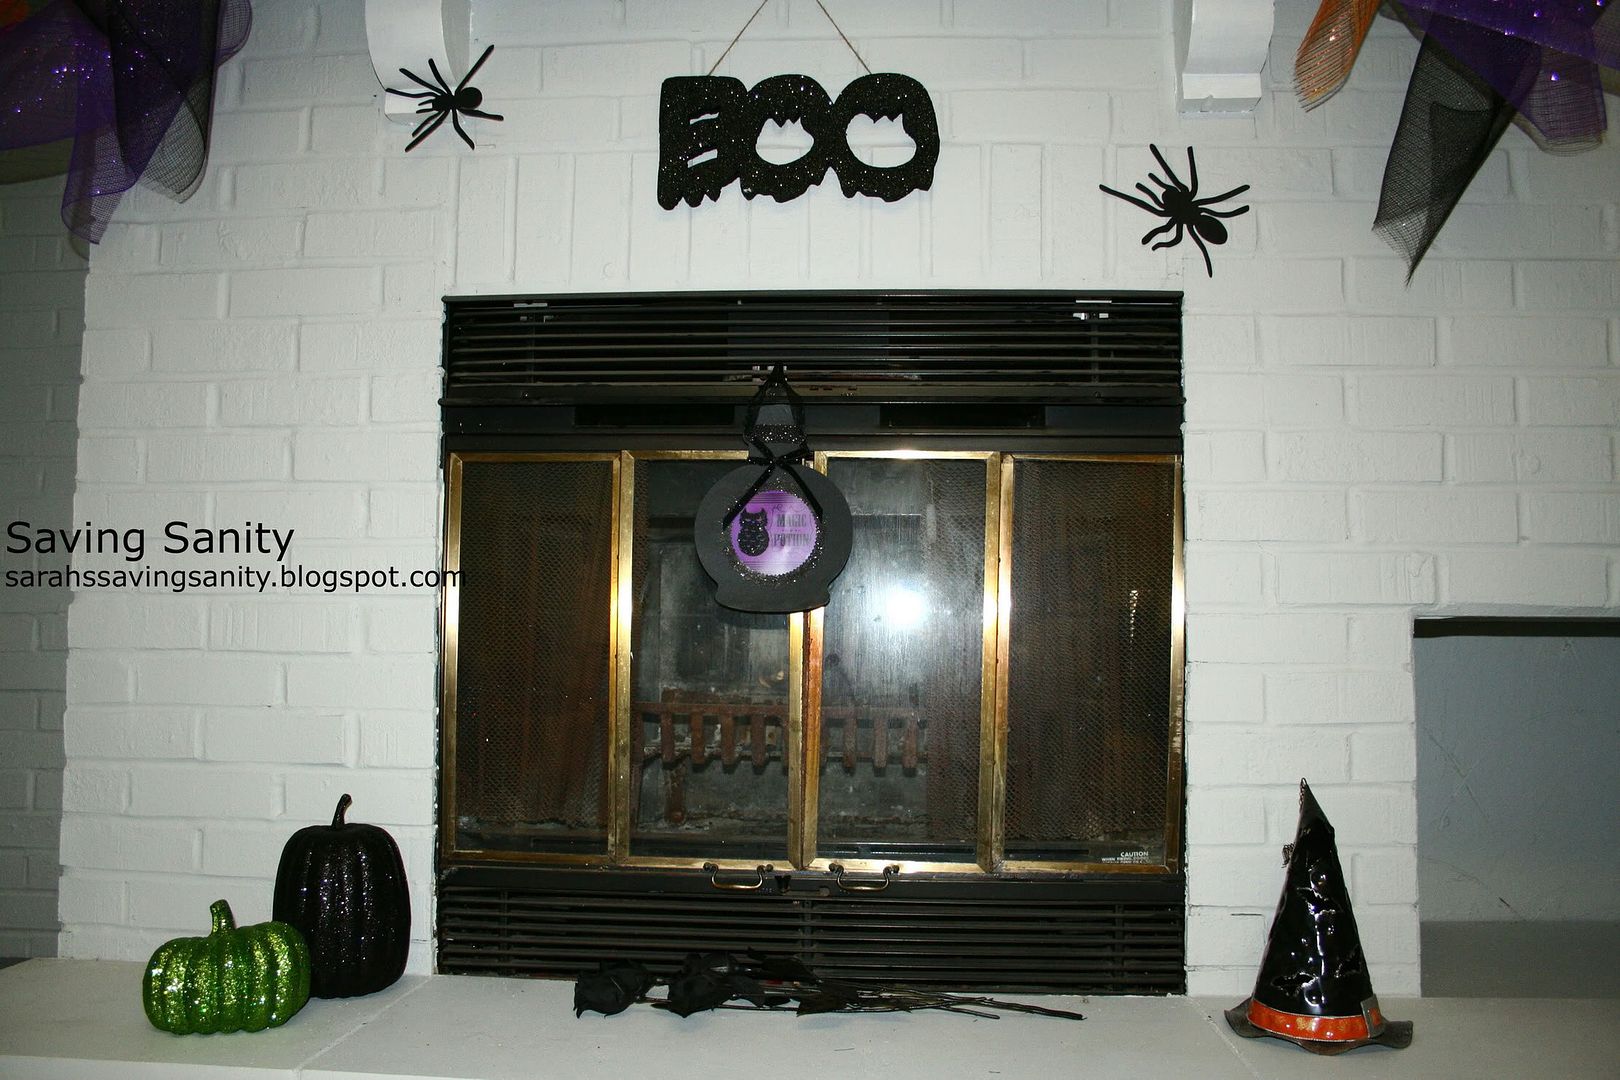
Halloween Mantle
It's been cooler around here, so I got out my Halloween decor. I love the colors for Halloween! I used three rolls of deco mesh (but still have leftovers), a big roll of black and purple from Hobby Lobby and a smaller roll of orange from Michael's. If you live around St. Louis, I highly suggest visiting the Michael's off of Brentwood...the store is two stories. I was in crafter's heaven!




Tuesday, October 4, 2011
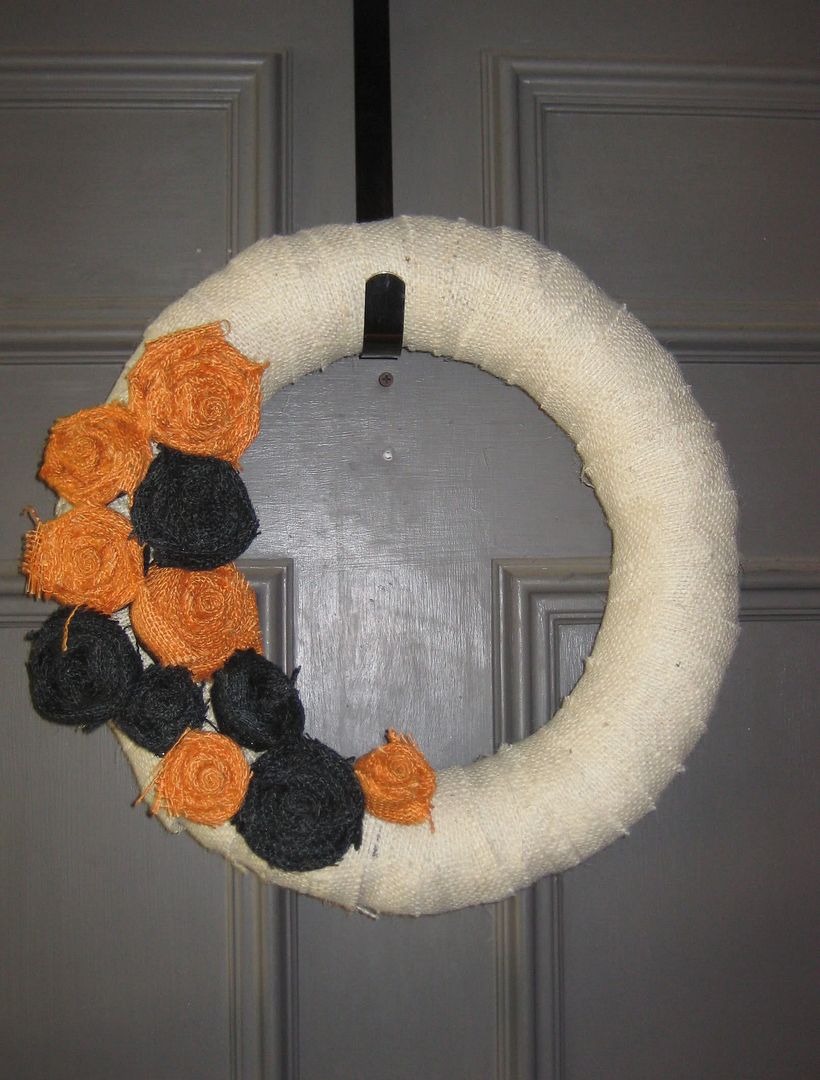
Halloween Wreath
Sorry I've been MIA but I have done some crafting! Here's a Halloween wreath that I made recently! And the best part is that I can easily remove the orange and black flowers and put new embellishments on it. Without further ado, here's the beauty:

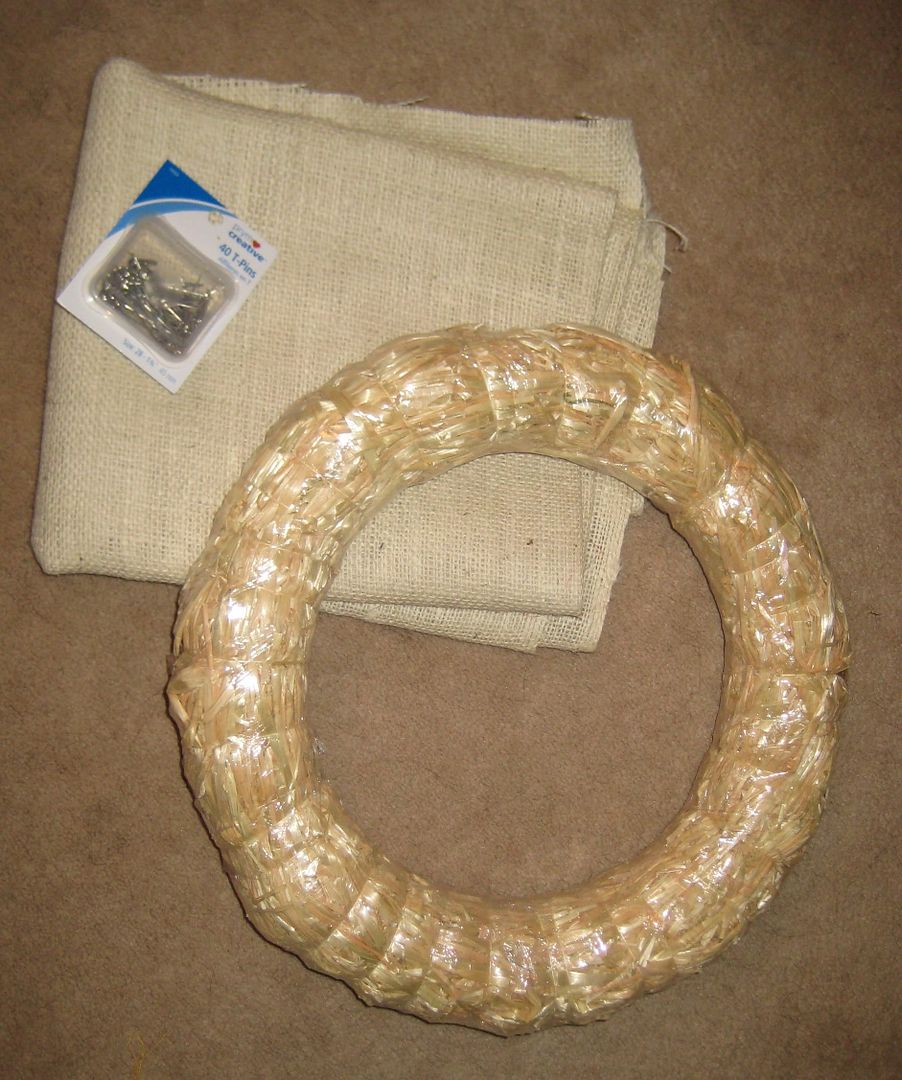
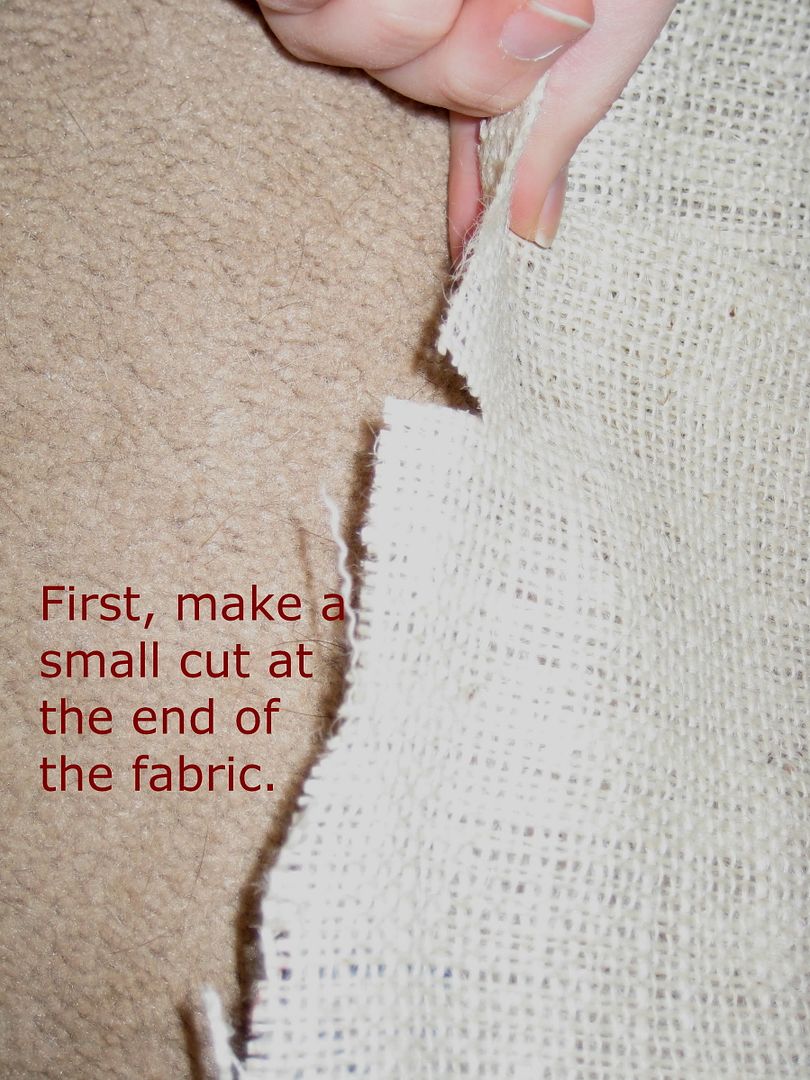
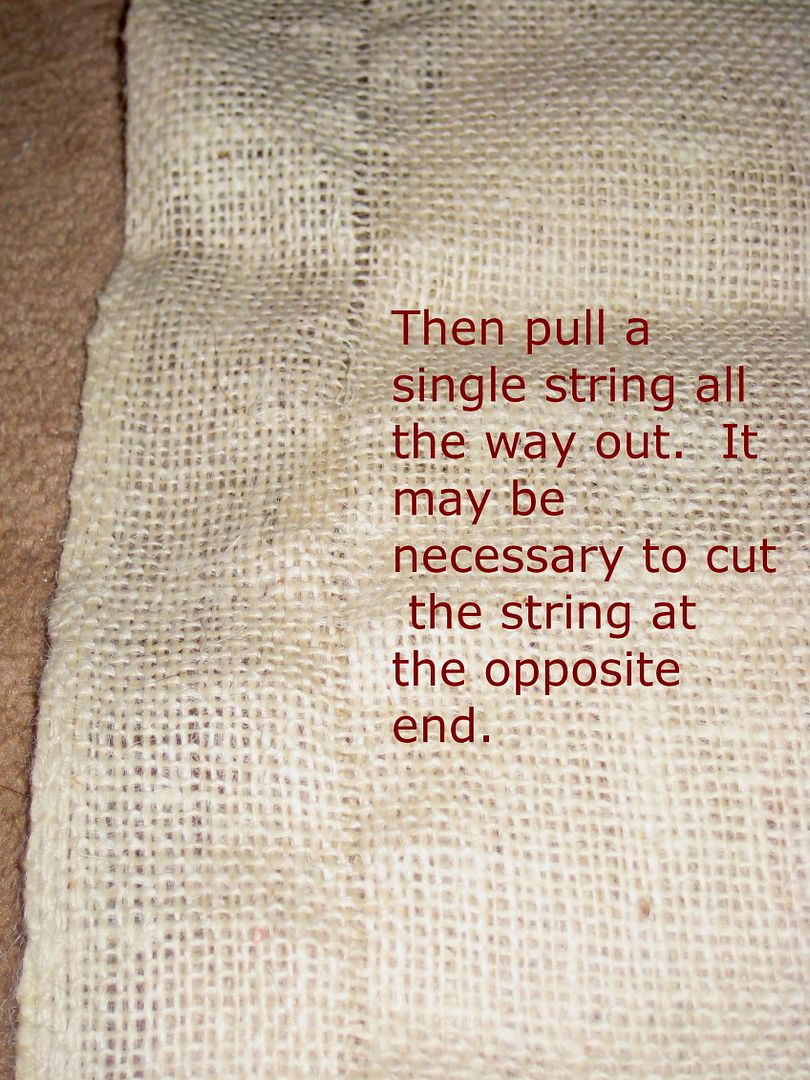
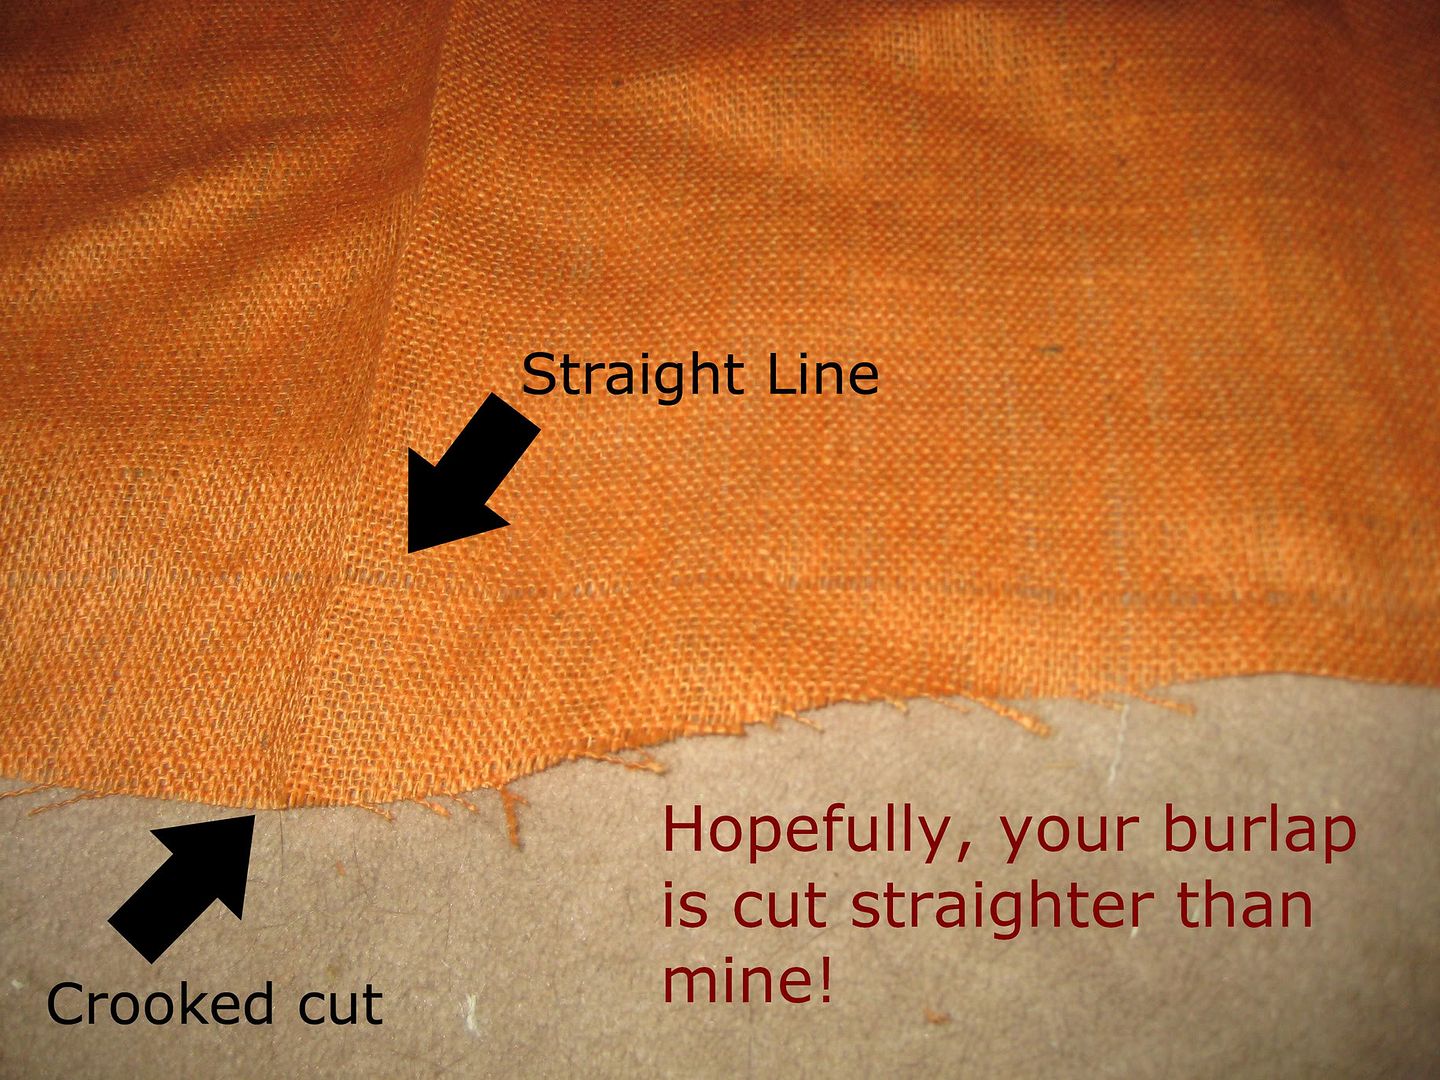
 I kept the plastic on the wreath to keep the mess down. First, cut the tan burlap into 2" strips. To cut a straight line, follow these steps:

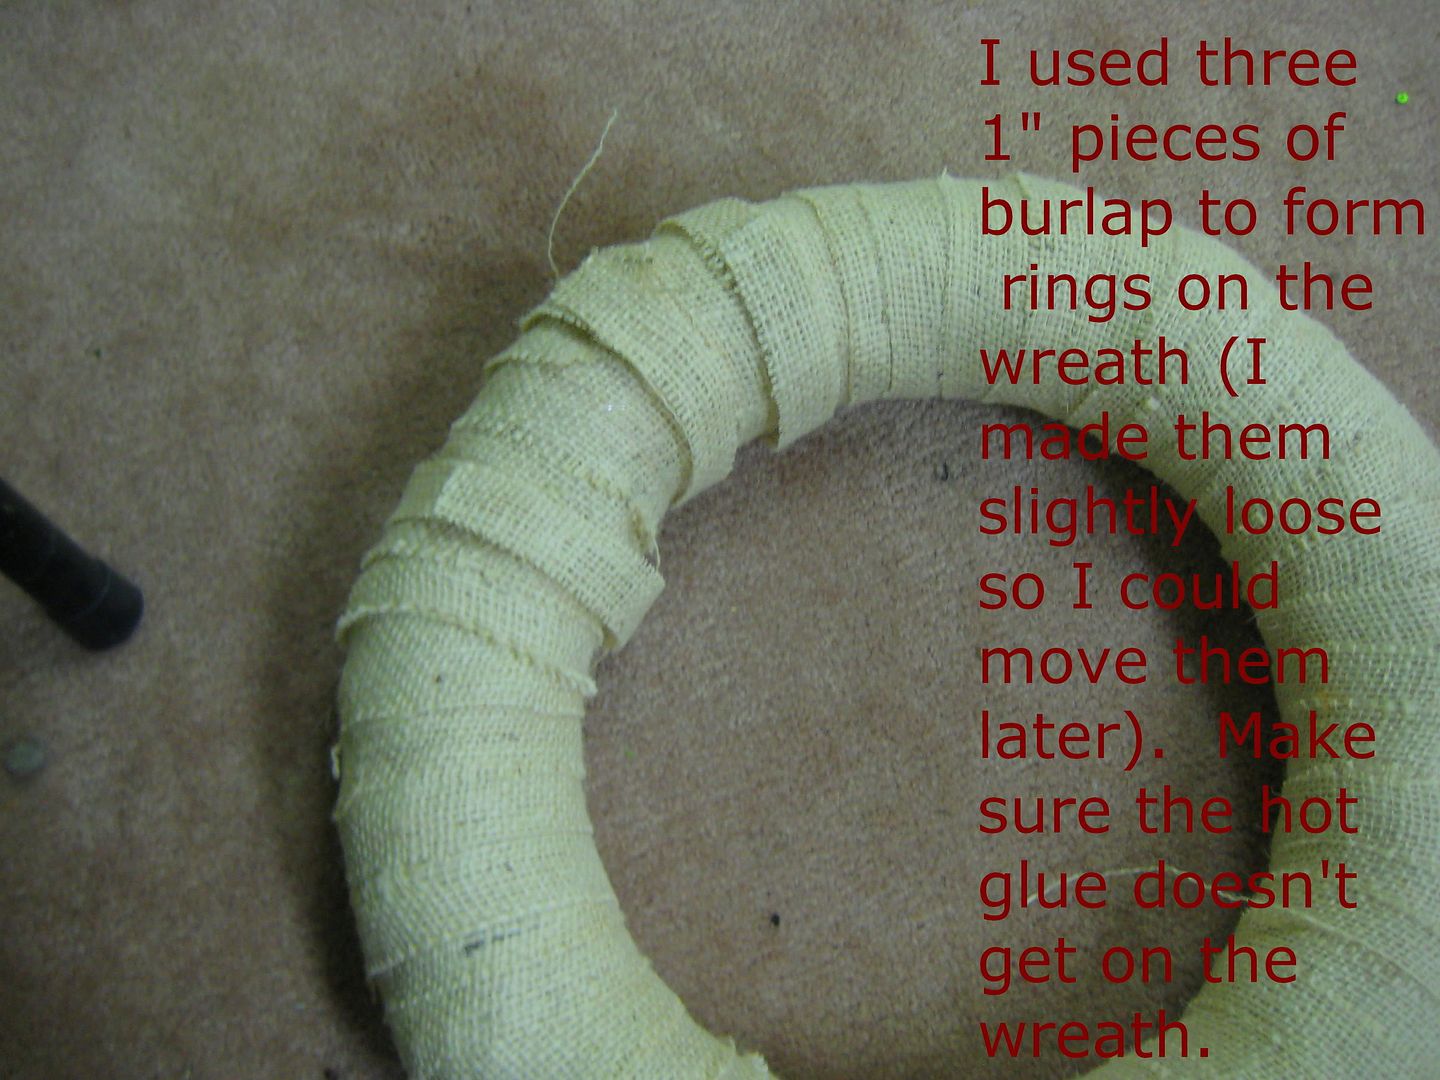
 This leaves a straight line, just cut with scissors. Next, I began to wrap the wreath with the burlap strips. I've seen some blogs where hot glue is used to secure the ends. I was worried about the hot glue melting the plastic, so I used T-pins to secure the ends to the back of the wreath.
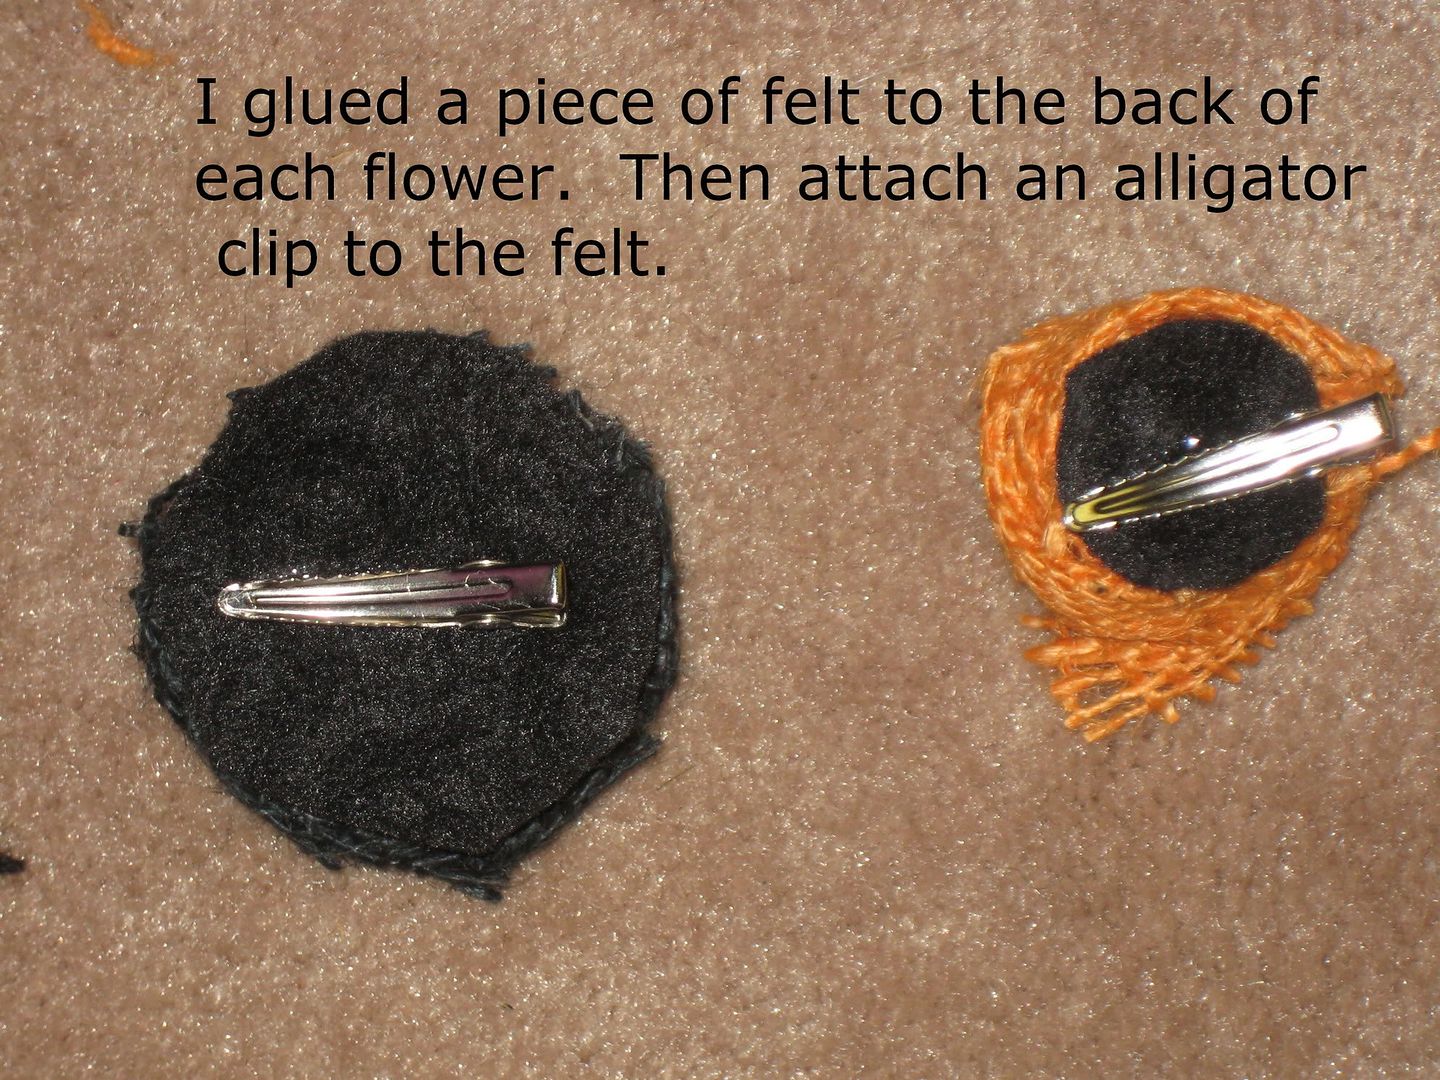
 I cut the black and orange burlap into 1.5" strips using the same method as before. I made the rosettes of varying lengths of burlap (2 per strip and the shortest length I used was 15"). Craftaholics anonymous has a great tutorial on making burlap roses!

 I played around with the arrangement before I decided on one I liked! And the most exciting part is that I will just replace the flowers after Halloween for a fall wreath!!
I got my inspiration/guidance from these two sites:
The colors from Just Sew Sassy and the re-usable wreath idea from Craftaholics Anonymous.
Linking up with

Supplies Needed:
- 1.5 yards light tan burlap
- 3/4 yard black burlap (more if you want more flowers)
- 3/4 yard orange burlap (more if you want more flowers)
- Wreath form
- Hot Glue
- T pins
I got my inspiration/guidance from these two sites:
The colors from Just Sew Sassy and the re-usable wreath idea from Craftaholics Anonymous.

Linking up with
Subscribe to:
Posts (Atom)